Saturday, May 13, 2006

Trusses


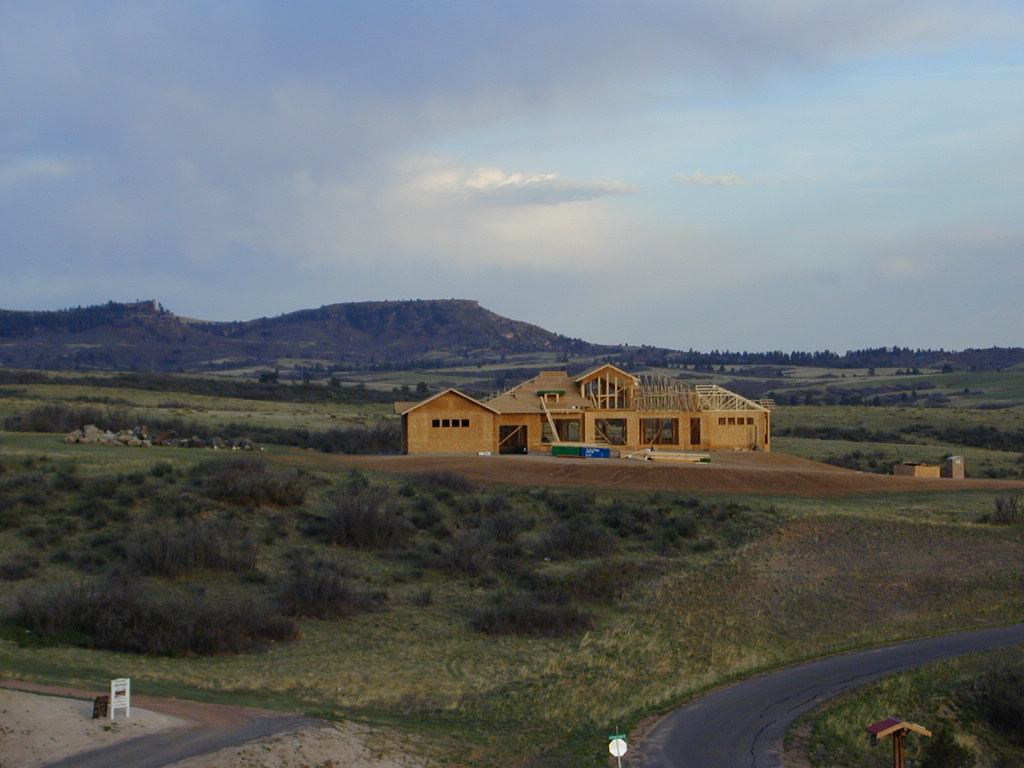
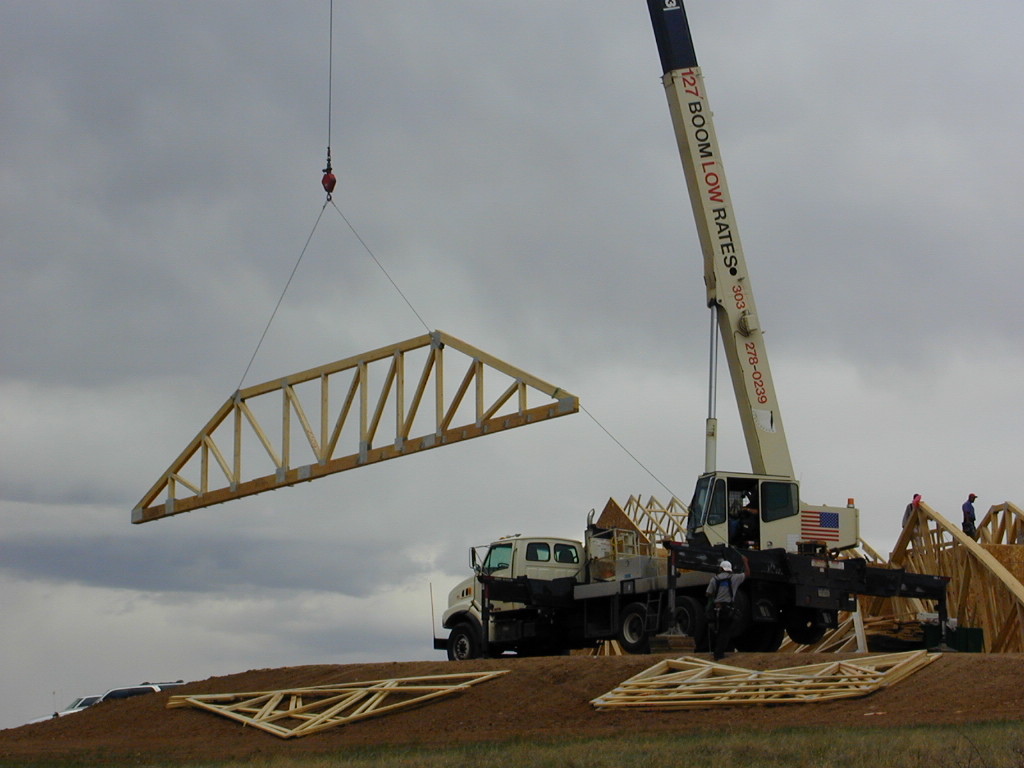
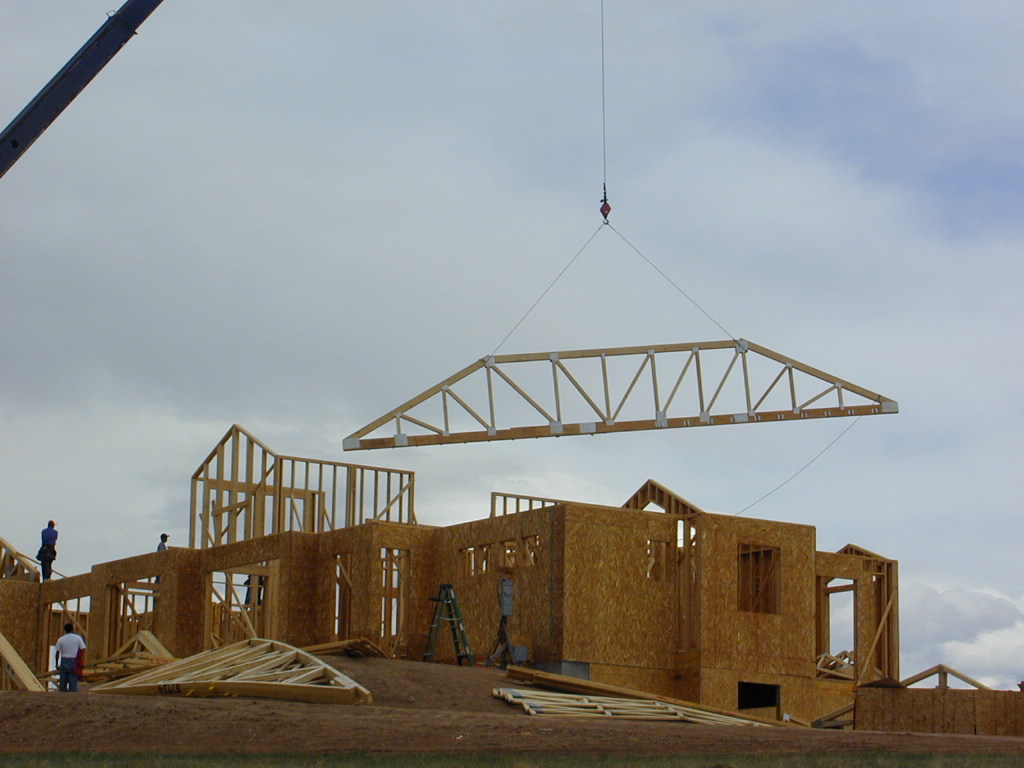
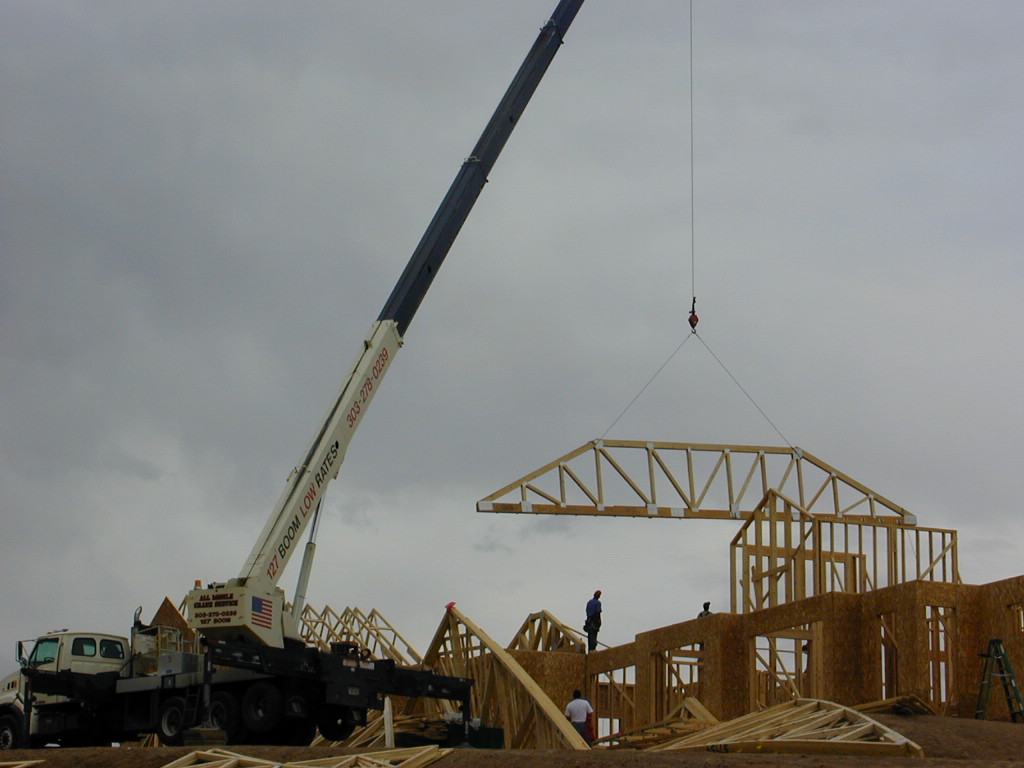
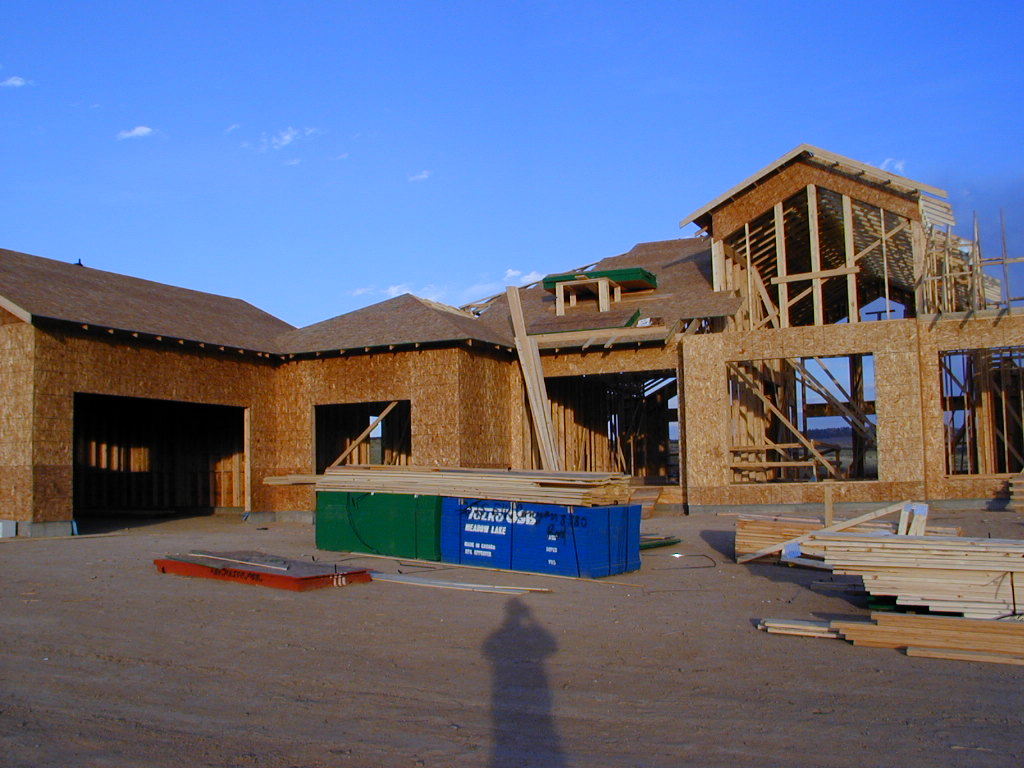
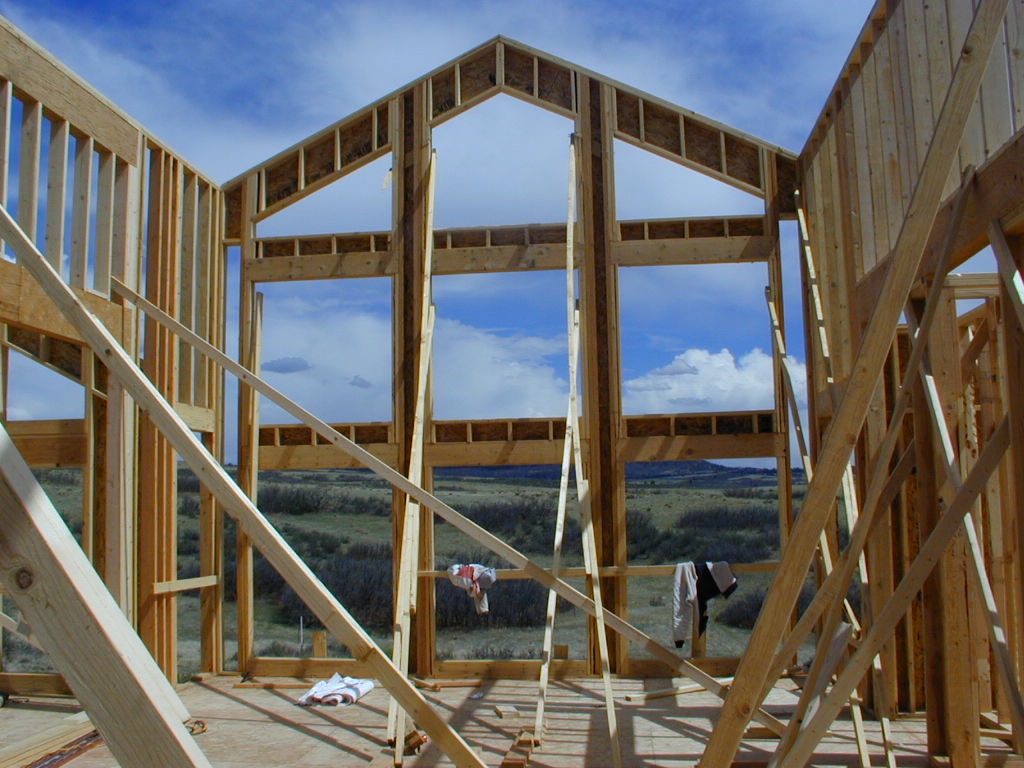
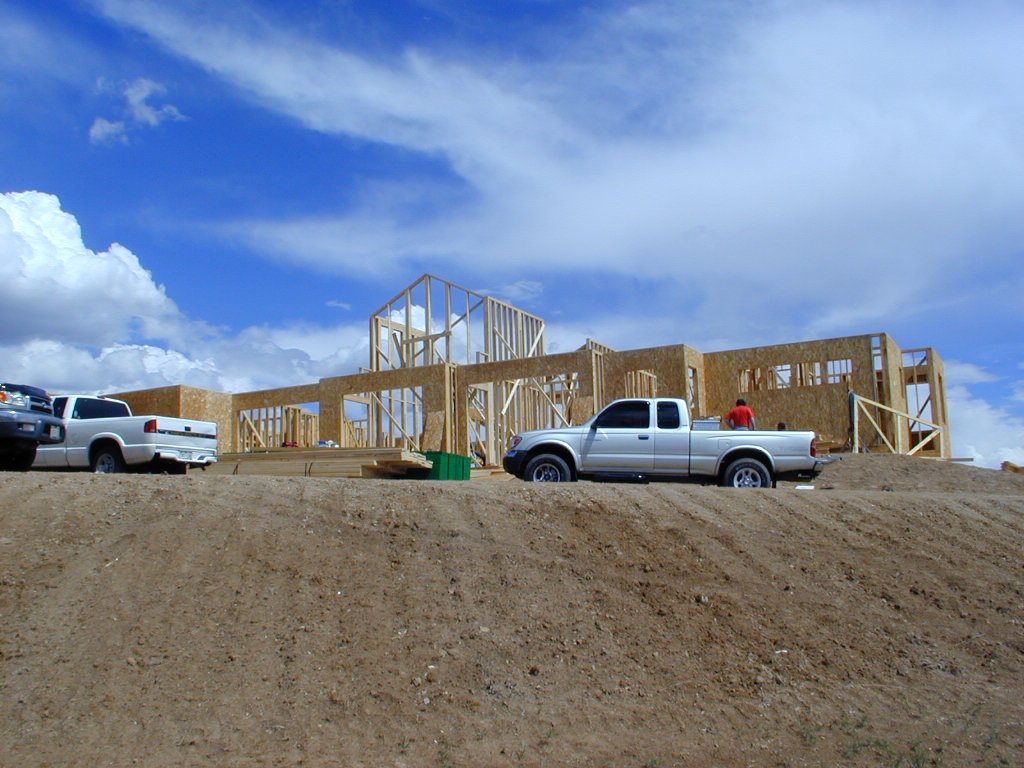
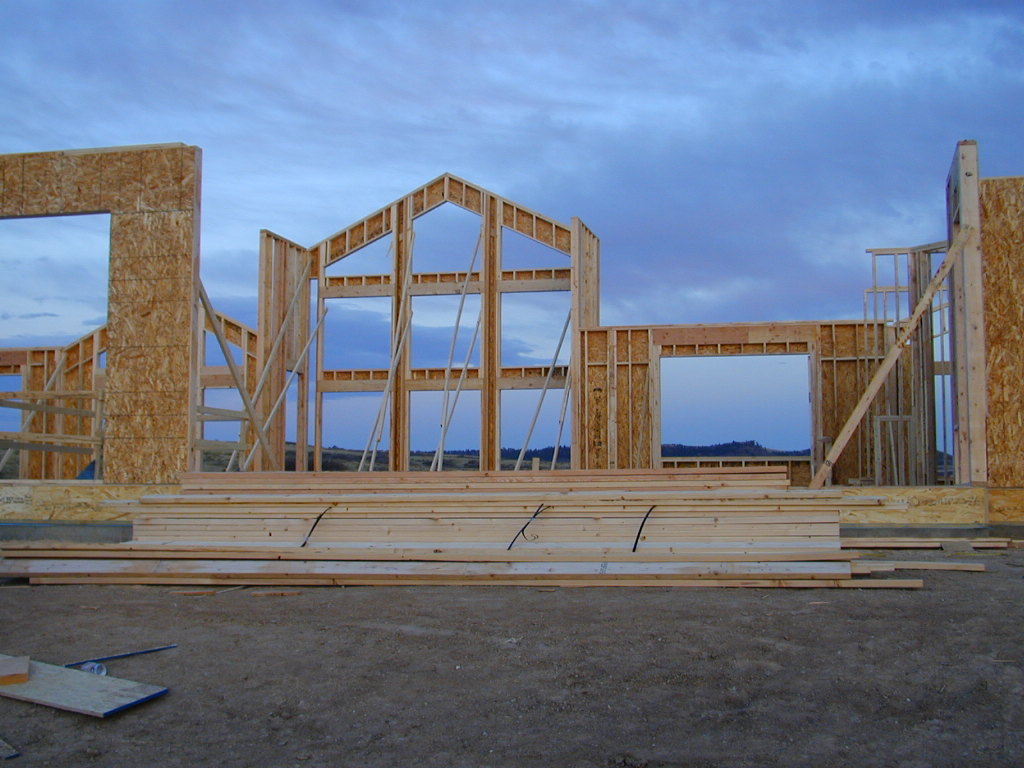
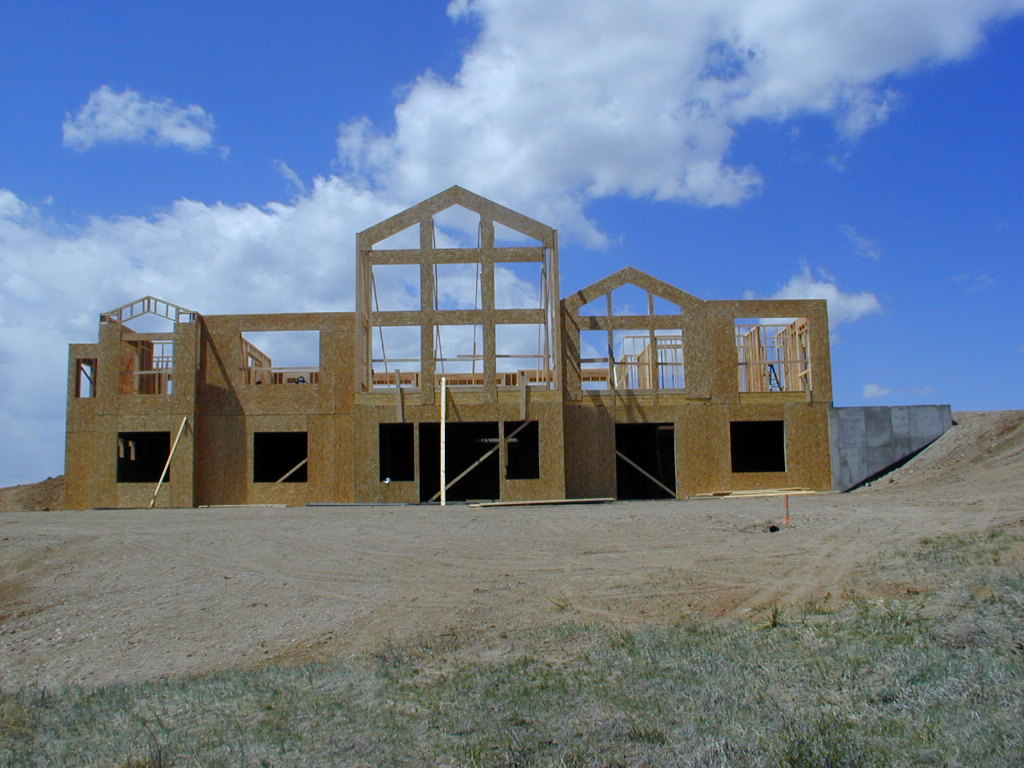
The trusses were delivered late last week. We had to do some engineering checks regarding load bearing areas to make sure the roof would stay up. Lori caught them using the crane to load the trusses up top. They used the crane to get all the pieces up in order, and the workers moved the smaller ones in place. The crane was used to get the more massive pieces lined up. It took about 3 days, and they have begun to put on the roof panels.
More on Flickr

Saturday, May 06, 2006

Framing 3


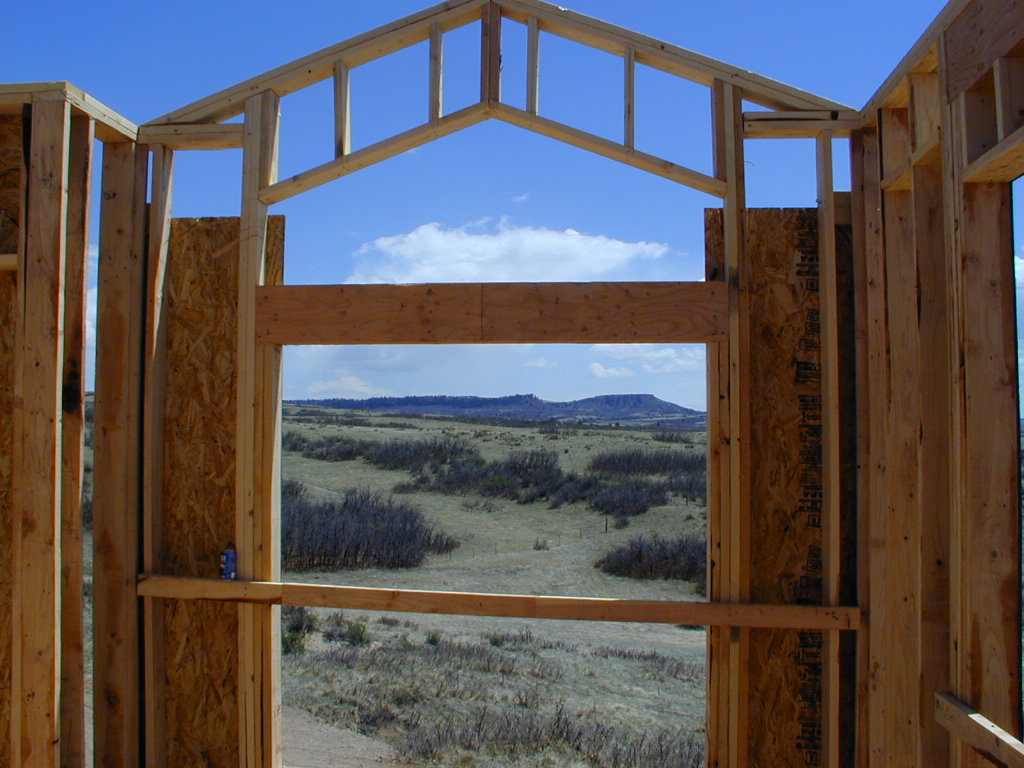
Lori and I met with George, the master framer, today. WE went over all the windows to assure placement and size for the order. Some changes were made, and the framers will move some of the rough outs. Included was the great room, where the lower level of window will be made higher to accommodate the view. The idea is to have a view through the back while walking into the front foyer, to see the bluffs out back. Unfortunately a large header was at exactly the worst height. Two windows next to the walkout door in the lower level will be shifted away from the middle door so as not to be too close, lining up with the outside edges of the windows above, allowing stonework to be placed between.
Most of the inside wall frames are up, and the trusses were delivered. Those go up next week.
The framing crew worked today, but not yesterday. It was rainy in parts, not much around here, but it was also cinco de Mayo. INS just has to hold off for a few more months ;) .
Upcoming decisions are front door size and design, choosing fireplace size and design, and need to decide on bathtubs soon. We'll have to meet with the electrician shortly for electrical placement (all outlets, lights, switches, fans etc.), basically going over the plans and a walkthrough.


Full set on Flickr

Sunday, April 30, 2006

Framing 2


Framing continues. We went out and met up with the master framer, George. Lori and I looked over things, and saw some need for quick changes. The biggest was the great room windows. Unfortunately, a large header blocked off the main view of the bluffs in back as we walked from the foyer area to the great room. That's something we couldn't really anticipate from the plans. Fortunately, some quick measurements and the changes are made easily. Shrink the header size, raise it up a foot, raise the bottom level a bit, perhaps increase the size of the window and it's done. Much easier to do now in the rough stage than later when more solid walls are in. They'll meet up with the window specialist to get final measurements and order windows and doors later this week. Other changes included moving a wall in the master closet and moving a linen closet, and shifting a door to the garage. We also widened a doorway, so most important doorways will be 36 inches wide for handicapped access, if ever needed or for resale.

Saturday, April 22, 2006

Framing starts

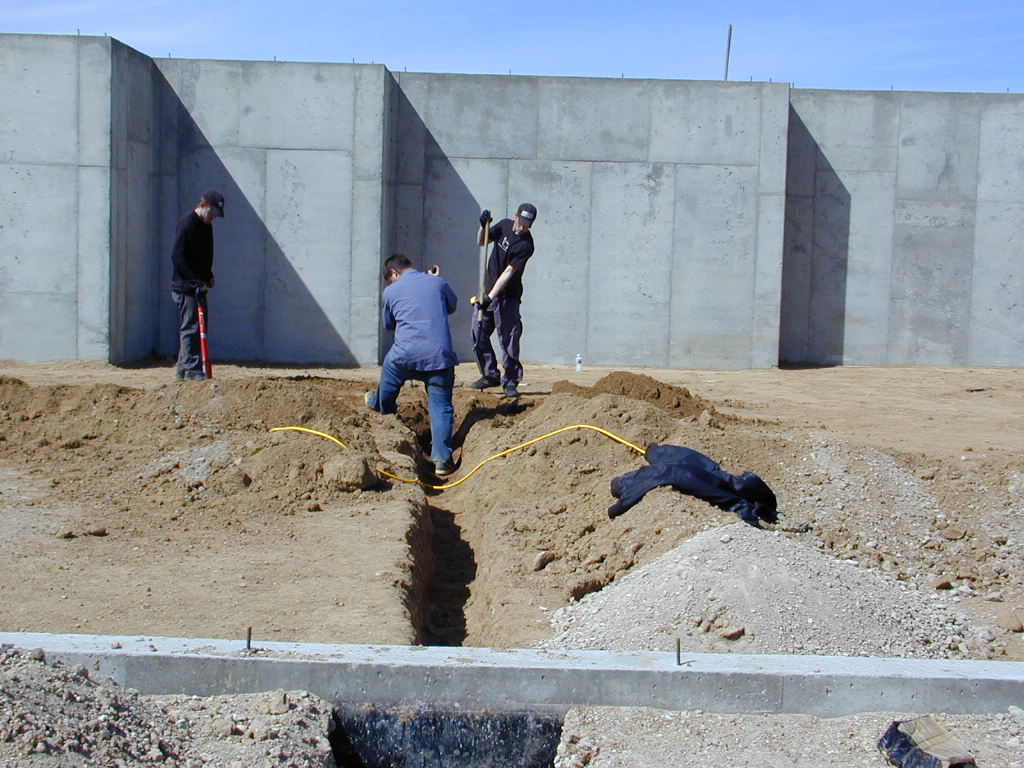
OK, things are moving again. The plumbing rough was put in. Trenches are dug, and the plastic piping is put in. This has to be aligned with the different areas of the house, sinks, kitchen, bathrooms, etc., according to the plans. Took a little longer as some changes were put into the final plans but didn't make it to the plumber’s copy. Lori and I went to the site and mapped out some changes for one of the downstairs rooms that we wanted. If they get it wrong and pour the concrete slab, the only fix is to dig it up, which would be pretty expensive since the slab will contain the radiant heat pipes.
(Pics on flickr)


Next, we met with the heating guys. That was a pretty drawn out affair. We again discussed the option of geothermal heating, using radiant heat pipes in the slab. No matter which configuration, the cost didn't work out as allowing any long term saving and although no combustible products are used, it wouldn't pay off , ever. I liked the idea of not using gas, but the builder assured us that the house would be very energy efficient and allow a lot of passive solar heating. So, we're going with radiant heat with gas. Piping will go throughout the basement slab and we will also put in a concrete slab in the upper level, with the pipes laid through that. The system will adjust itself to outside temperatures, and there will be 6-7 different heating zones allowing a lot of fine-tuning to heat the areas that we will use the most. Ends up being much less expensive than I anticipated, more expensive than gas forced air. The advantage is that it is much cleaner without air blown constantly, more efficient with the zones as well as heat maintained lower down without having to blow air around to the high ceilings, and very quiet. The expense is a disadvantage, with some double costs because ducts still have to be put in for AC, but we will only do the upper main floor level. The lower level being 12 feet down, is expected to maintain its coolness well.
The framing has started for the lower level. The back wall are started with the openings for sliding doors and the windows, with the steel beams set across the
bottom and supporting the start of the floor. The beams currently are supported by wood which will be replace by steel pillars which will be centered over the pylons already set in.


Once the floor is covered, the dirt underneath will be watered to allow some of the clay to expand before laying the slab, to avoid expansion of the underlying clay after the slab is down, which could shift it. An insulating foam floorboard goes down first so that the radiant heat doesn't heat the ground underneath, and it just goes into the slab and the house. There will be a 5-inch concrete slab over that in the lower level, a 2-inch slab for the upper level (I think). For the lower level, the insulating board goes down first, then rebar crossed throughout, with the heating pipes tied to the rebar to keep it positioned when the concrete is poured.

We came across one of our neighbors while we were checking things out.
He said he couldn't wait till we started planting our landscaping.

Wednesday, March 08, 2006

New Construction


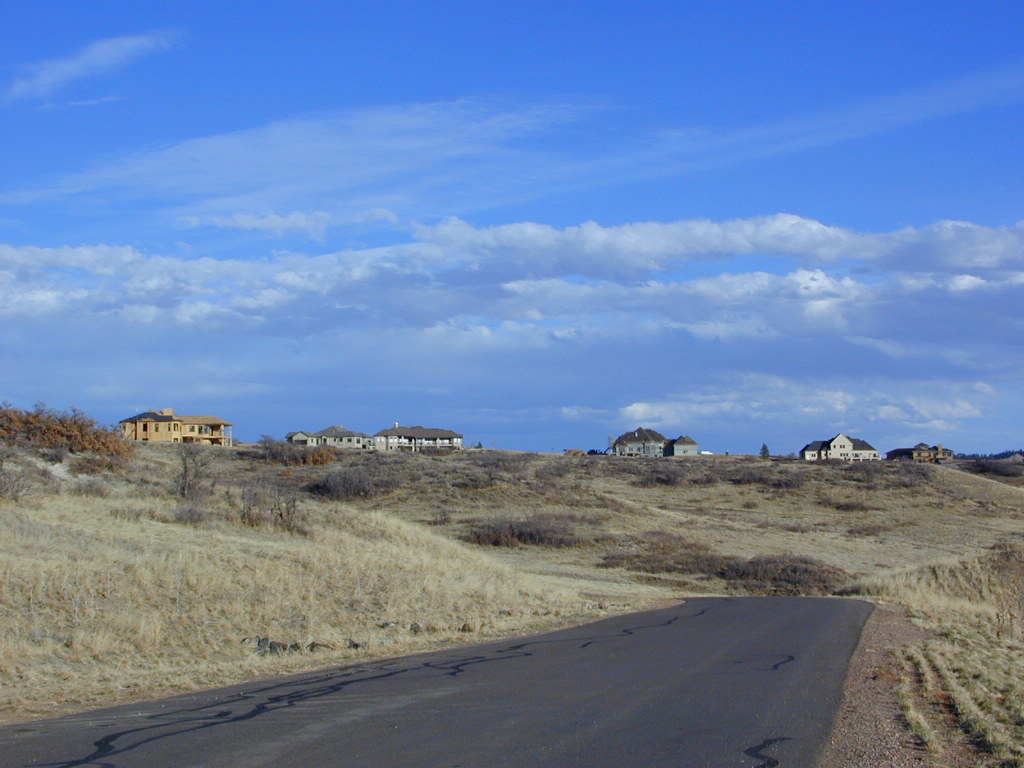
Our rough plumbing starts, meaning the main pipes for drains out and water in. I decided to show pics of the houses under construction and already finished instead. The pics are a view as we are driving in to the development and from the north side. Our site is a mile to the SE.

There are currently 3 houses completed and about 12 houses under construction.

Saturday, February 25, 2006

Backfill Finished


Backfilling has been done. After waiting a couple of weeks for the concrete to harden, those piles were shoveled in. Took me a couple hours and I went through a couple shovels! Actually, it's pretty amazing how those guys can work a back hoe and a bulldozer. The bottom pic is the north side. The infill is to the top of the concrete. More amazing is how the front was filled to the top of those walls, about seven feet from the base.
In the top pic, the interior of the future lower level has been filled with the structural fill, sandy stuff about 1.5 feet deep. Next step is the rough in plumbing, and then the slab goes down.
Lori met yesterday with the framing guy, window guy, plumber guy, and the builder. They all had some recommended adjustments, such as window types and placement, recommendations for piping etc.
We got back a proposal for the heating with a geothermal specialist. Nixed that one quick, as it was way too costly up front and wouldn't pay itself back in energy savings for quite some time. However, we discussed our plans with another heating guy, who had some great ideas about a mixed system, traditional gas forced air supplementing a geothermal system, and now are waiting his proposal. It sounds promising at first blush, but that's how they rope you in. More pics on Flickr

Saturday, February 04, 2006

Concrete Walls


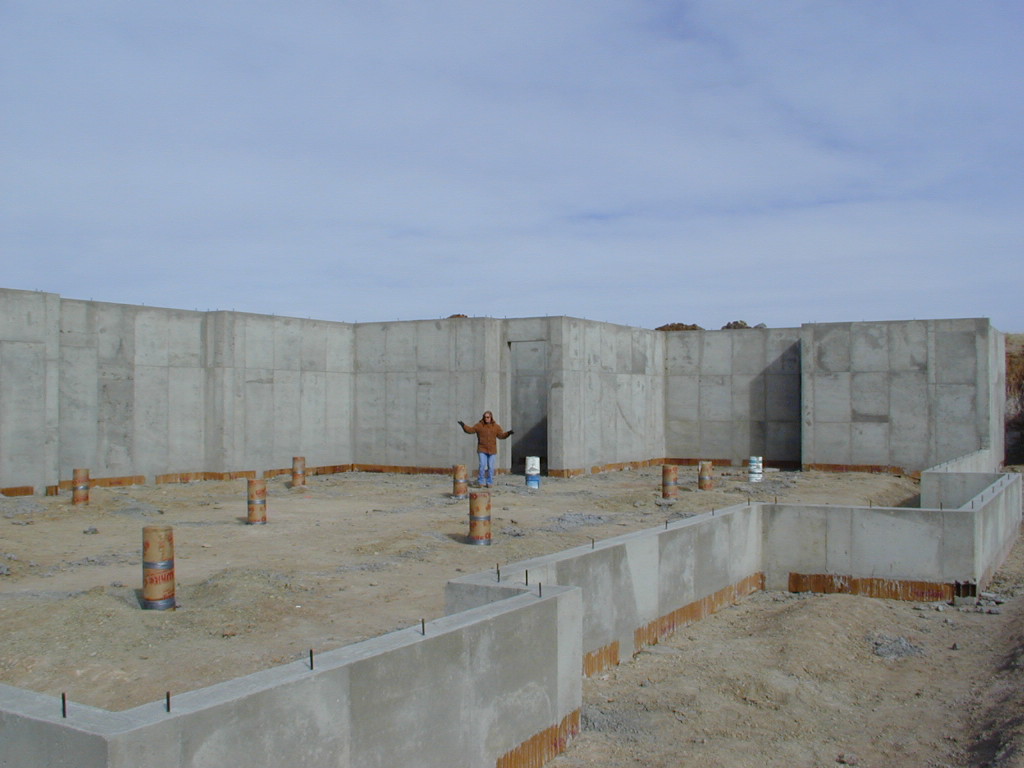
The concrete is poured and set. The tall walls are to the front of the house.

The walls are about 12 ft. The pilons in the middle there are up about 2 ft. This will be filled with gravel, and topped with the slab, leaving room for a 10 ft ceiling.
The opening behind Lori is the area below part of the garage, which we had excavated out for an extra basement room.
Dirt will be filled to the top of the back frost wall, towards the front of the pic. More pics on flickr.

Saturday, January 28, 2006

A Brief Interlude

OK, this is old and has nothing to do with the house, but I just ran across it and thought it was funny.

Concrete forms for Foundation walls


Work started on putting the forms up 3 days ago. It took several days to get the forms in to begin the work.
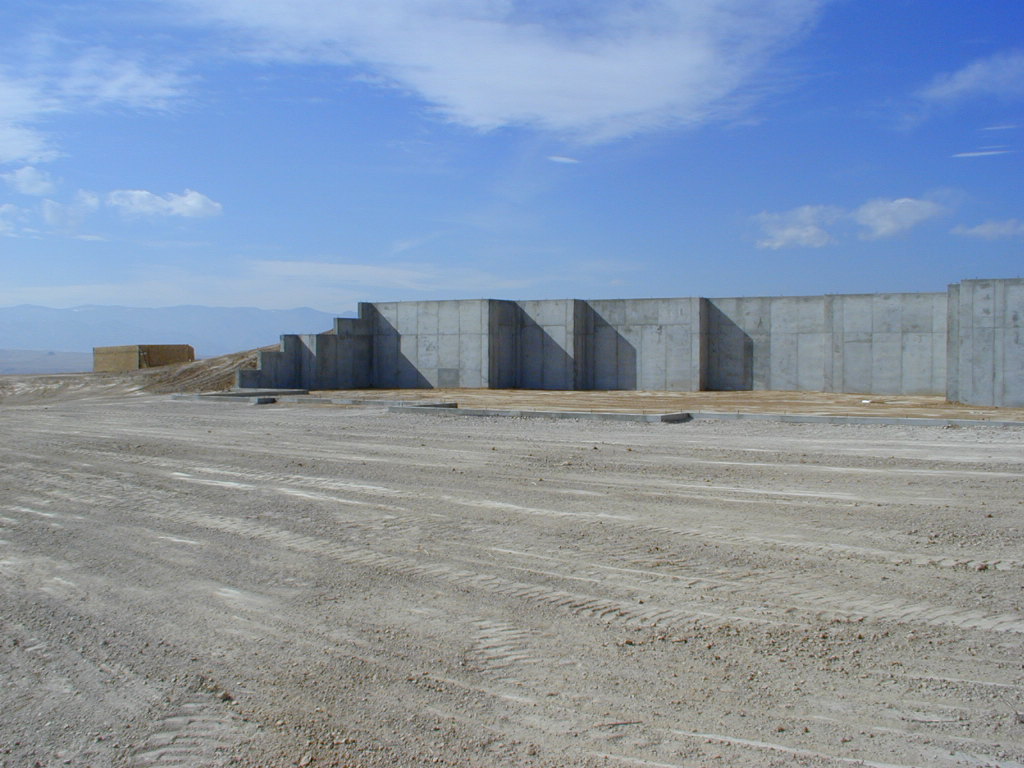
The near wall and wall to the right (front of the house), are about 12 feet high. About 2 feet of fill and concrete slab will go in the bottom, making a total of 10 foot walls for the basement.
They're still working on putting up the far side walls (south), which will step down in height and be above ground.
Cement pouring should begin Tuesday or Wednesday.
Pics on flickr

Saturday, January 21, 2006

Snowstorm

Six inches of snow on Thursday. The concrete forms for the foundation walls were dumped off on wednesday, but looks like another delay until the snow clears, at least in part. Hopefully Monday. Pics if we can get there today. We have an afternoon hockey game to go watch today.

Wednesday, January 11, 2006

Caissons are in


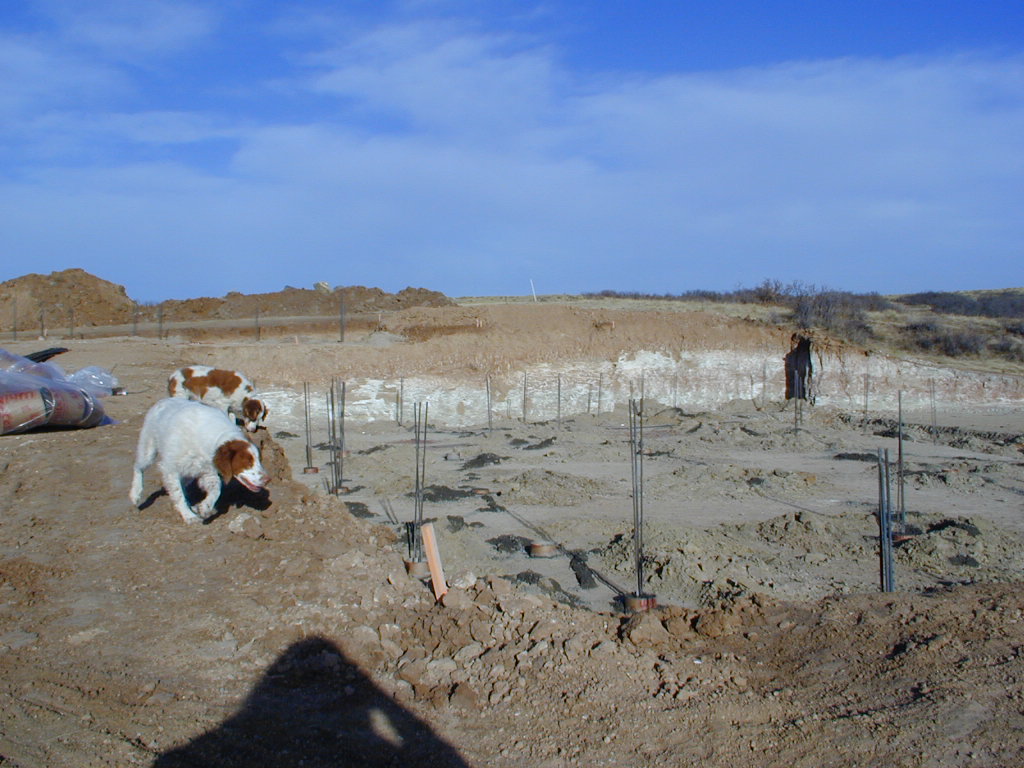
The caissons are dug out to a depth of about 18 ft. That goes down to bedrock level, which is actually sandstone here. Rebar is placed in and the holes are filled with concrete. The foundation will rest on these.

Next step is to set up the forms for the foundation walls.

Saturday, December 31, 2005

Happy New Year Everyone

A brief review of the project


OK, here's where we are now, a big hole in the ground.

We bought the lot 2 years ago. WE actually had been looking at another house that sat on 4 acres, and almost bought it, but the deal fell through and in hindsight we're glad it did. The day after the deal broke, Lori saw an ad in the paper's real estate section for land for sale at Cherokee Ridge. So we saw it and bought it. Our lot is 4.5 acres.

The initial task after buying the lot was to find an architect. That took several months, and we switched from one after about 2 months. I might go into the architect stuff some other time.

It took about 1 year to get the house plans optimized. During that time, we interviewed various builders and discussed cost. The builder we chose, Mike Davis, has a great reputation and we saw a number of his completed and in process houses, which look really good. He is slow though, and Lori's job, one of many, will be to keep the project moving and on top of things.


The next step is to drill the pilons. The site is marked for quite a number. A hole is dug at premarked sites determined by the engineer, to about 20 feet deep. Rebar is put in and the hole is filled with concrete, about 18 inches wide. The foundation walls and center basement support will rest on these. This is required due to the very expansive clay soil here, which can cause shifting and heaving of the foundation if it gets too moist or even dries out too much.


That step has been delayed first due to very cold weather, and currently because we had to decide on a type of floor for the basement. Once the hole is dug, another soil sample is taken, in the hopes that it won't be so bad deeper down (there are areas of sandstone, which is good to build on, but unfortunately we didn't luck out). Our soil was found to still be expansive. The choice is to have a "structured floor", a basement floor that is actually built up off the ground so as not to be affected by expansion (which adds $30K to the cost), or to use structural fill over the clay. Structural fill is gravel/sand that will not expand and absorb the effects of expanding clay underneath. The pilons would be poured, the foundation walls then put up, then the fill put in. A concrete slab is poured over that. We opted for choice number 2. Activity should restart next week.

Lots of stuff to do. Lori has been meeting with a number of different folks, for wood floors, tiling, plumbing and light fixtures, etc etc. Occasionally I help. I hope to have discussions on all these aspects of the construction. I'm really interested in a process called ground extraction heating and cooling, and we're currently in the process of reviewing details on getting that type of system installed. Seems to be verrry expensive up front, but apparently very cost effective and economic for heating/cooling and pays for itself after 7 years (by the contractor's estimate). More to come.