Wednesday, November 22, 2006

Phoenix Trip


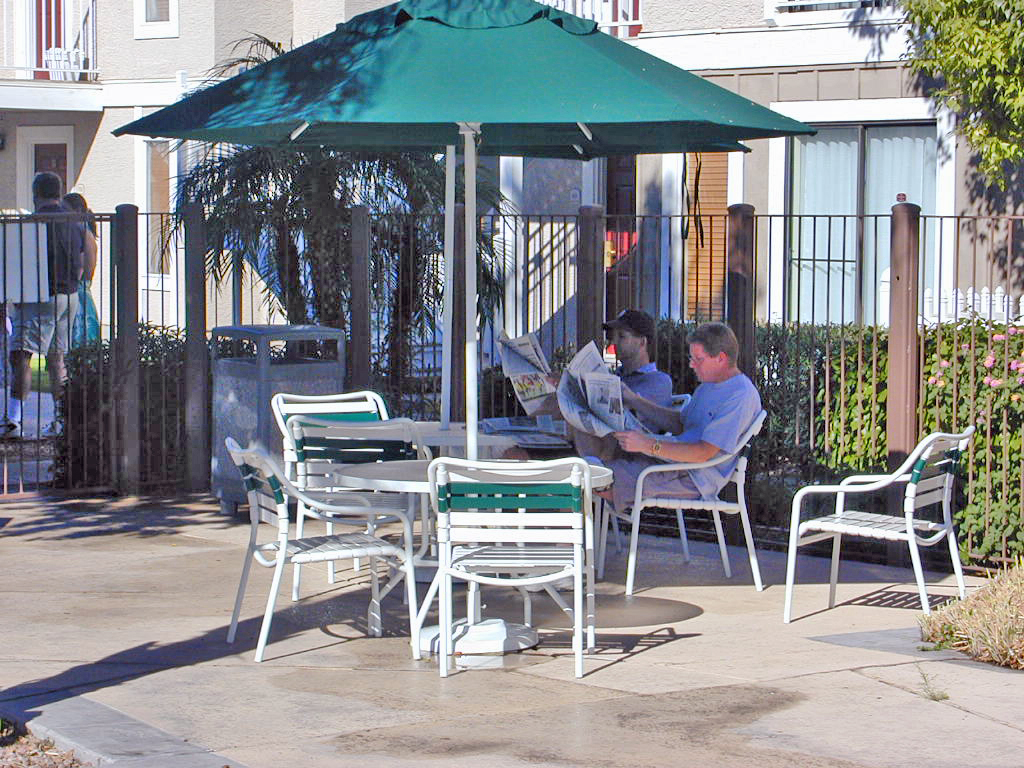
Took a long weekend in Phoenix and a good time was had by all. It was nice to get away for some fun in the sun, and watching OSU and Michigan, Detroit Lions and Arizona, and a couple others.
More pics on Flickr

Sunday, November 05, 2006

More framing, some plumbing, and dogs

Didn't like how those entries turned out below. I tried to do the entry from flickr. Click on the pics for a better view. Flickr has more pics and comments.

Corbels and brackets

Corbels and brackets
Corbels and brackets,
originally uploaded by crocshoes.
Finally have been cut. They should finish off the front panelling and windows. Roofing tiles piles on top getting ready to lay out

Great room fireplace framing

Great room fireplace framing
Great room fireplace framing,
originally uploaded by crocshoes.

Box in the middle is where the FP goes. Spaces to either side will be built in shelves (entertainment center). Stone wall over the top

Sunday, September 17, 2006

Yes, It's been awhile

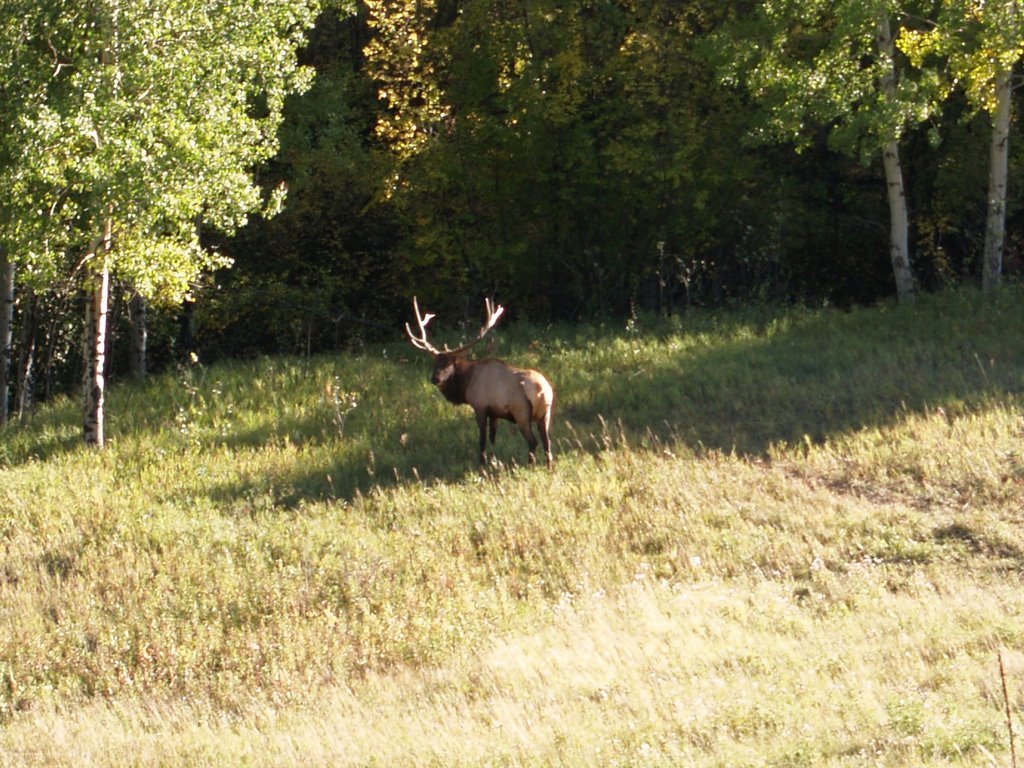
Going through some roughing revisions. Roof priming was finished up. The plumber apparently disappeared (a bad reflection) and replacement will start this week. In the meantime, we saw this big boy while on a drive.

Saturday, August 12, 2006

Basement slab


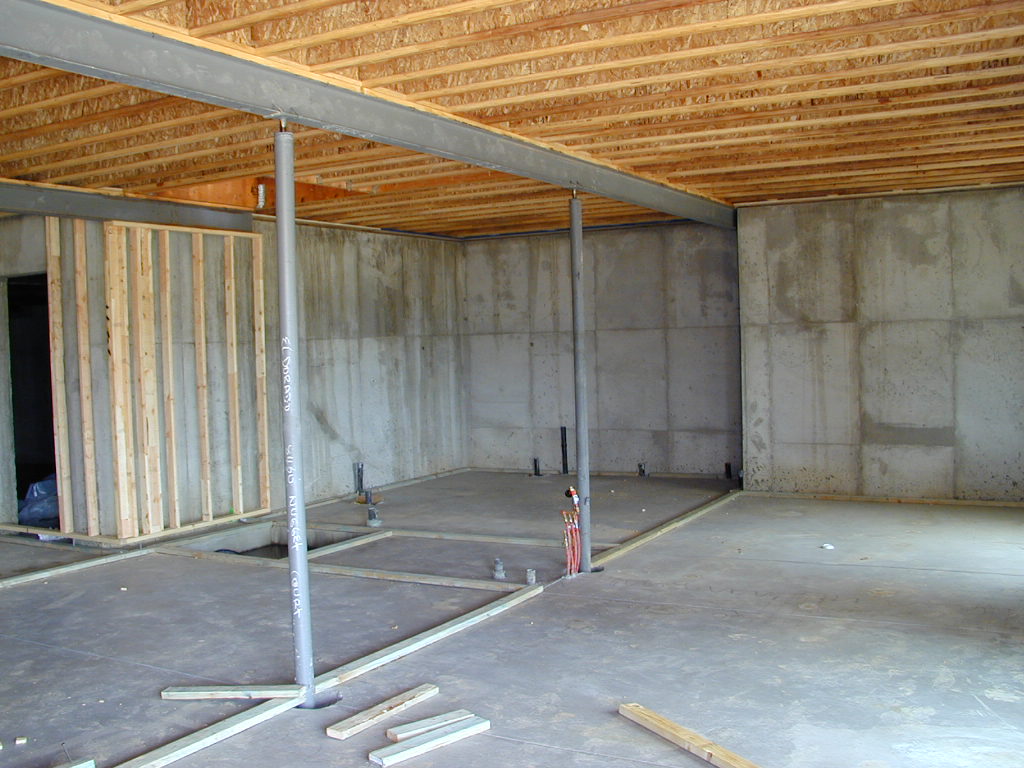
The basement slab got poured, covering the radiant heat tubing. The day of the pour we had a tremendous thunderstorm and it poured down rain. The roof wasn't sealed yet, so the builder ran around like a nut to cover the upper floor with tarp to avoid dripping to the new concrete and causing water drop dimples. I told him it would have been easier to put something over the roof, and as outlined below he did.
The slab looks good though and they've already started roughing in for the rooms. It's pretty interesting. The walls are outlined by boards glued to the floor. The actual walls are anchored into and hung by the rafters overhead. A spike is driven across the bottom board of the wall and into the glued board. If the concrete heaves, there are about 3 inches of room and the walls will not be affected.
All photos on flickr.

Roof


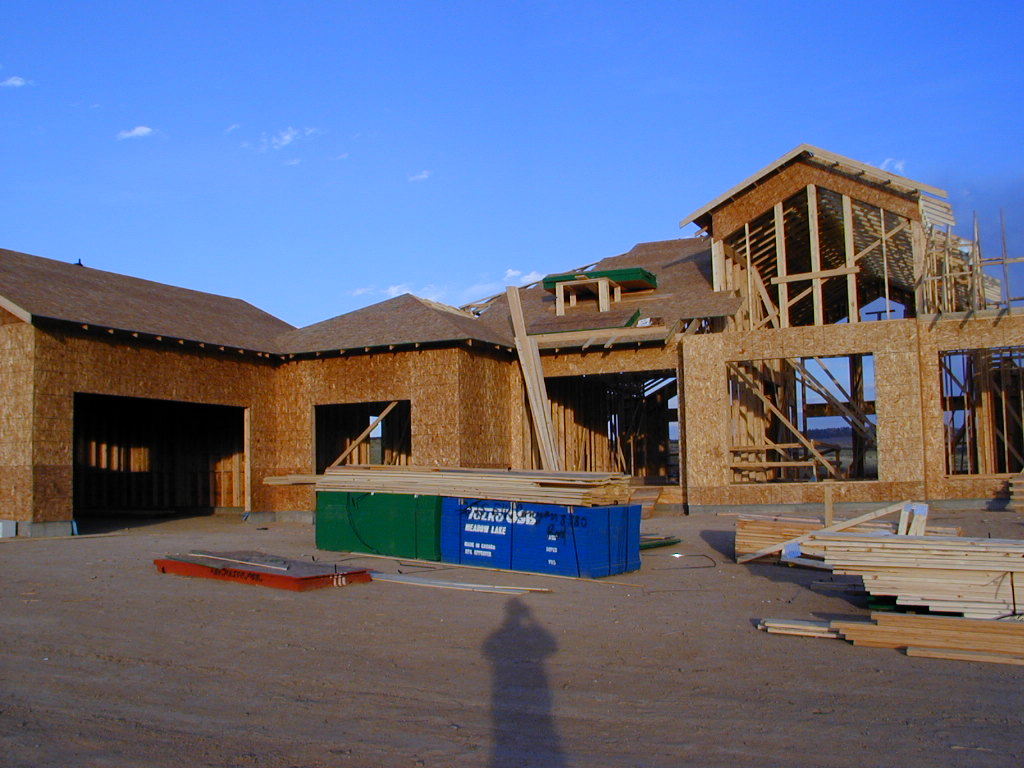
After getting the floor soaked one time too many, we've finally got some roof top covering going. Some adjustments were required for the roof set up to allow appropriate drainage. The tar paper is set up for flow, and set in place with roofing nails. Flashing will be set up on the corners. Wood slats go on next and the tiles will be set on those. The seams are all tarred underneath first. Before the final tiles go on, the heating system and fireplace ducts/vents have to be cut through, and flashing will be put around. This stuff will help keep the insides dry though and the wood should dry well with our low humidity.

Decks and columns


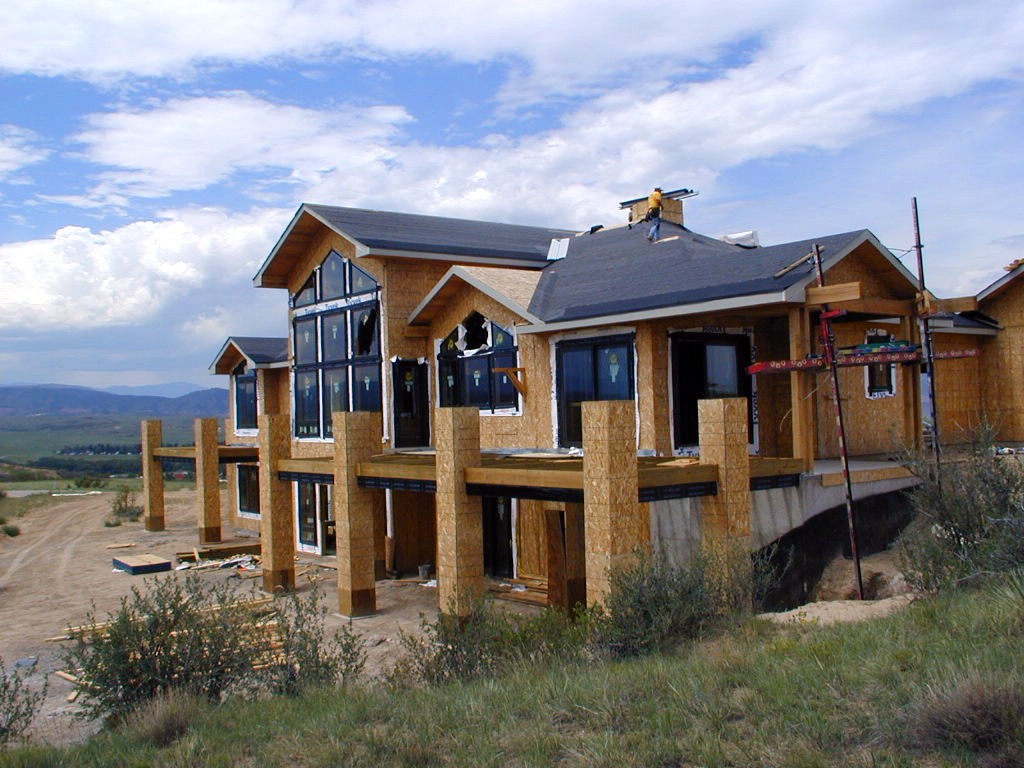
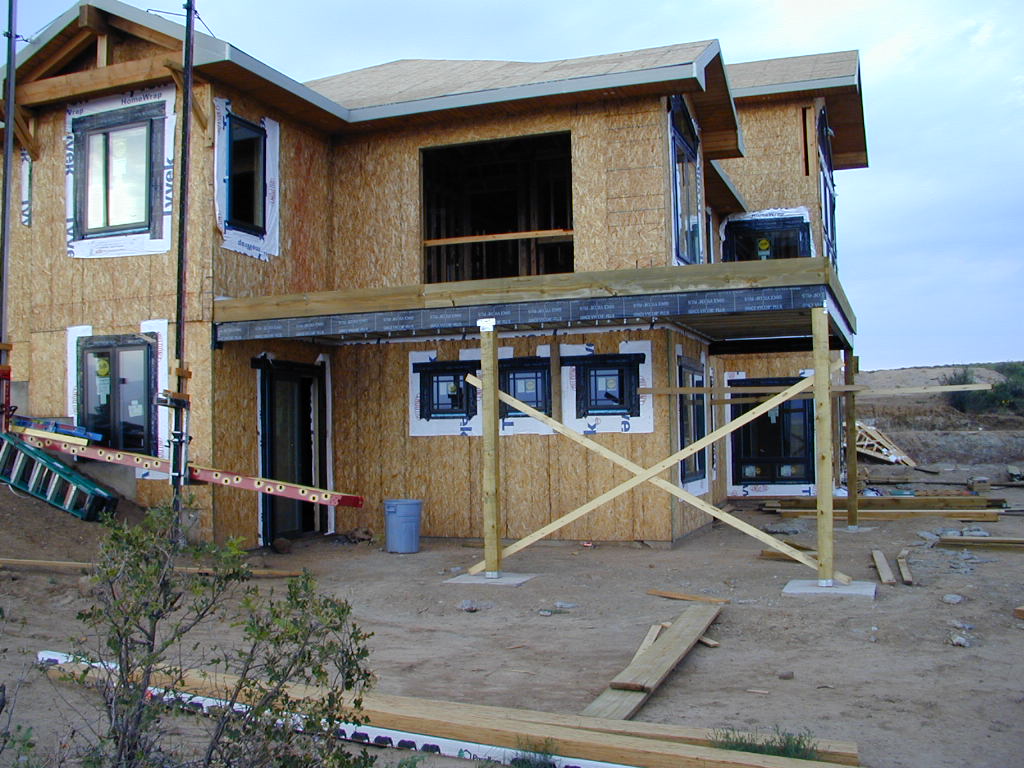
On the exterior, they've been working on finishing up the deck framing. The posts have had surrounds built up, about 2 ft square. These will have stone surfacing.
The front entryway has been built up. The rounded portal top is about 18 ft across. This will have a metal roof, with the rest of the roof concrete tiles that look like shake. The post holding up the beam will have a surrount, tapering up from a 4 ft wide base. On the front porch, a surround around the four posts will go up only 4 feet and the post will extend on up from there.

Sunday, July 23, 2006

Basement Heating

This is a continuation from the post below. I guess I only get to put up 5 pictures at a time.
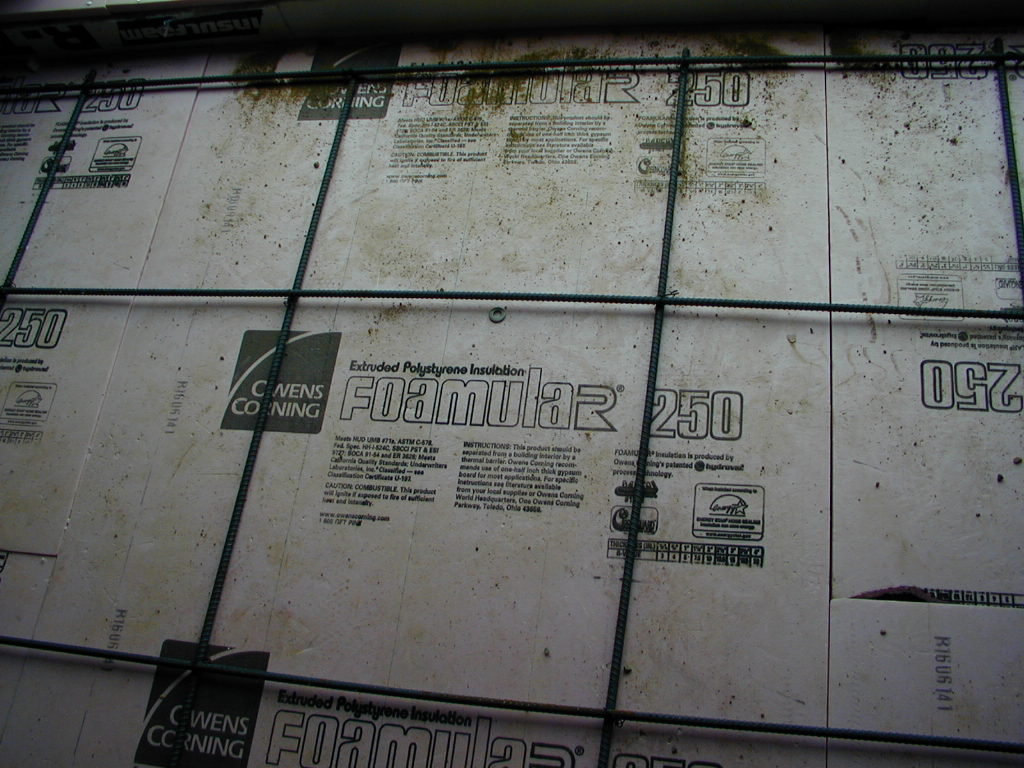
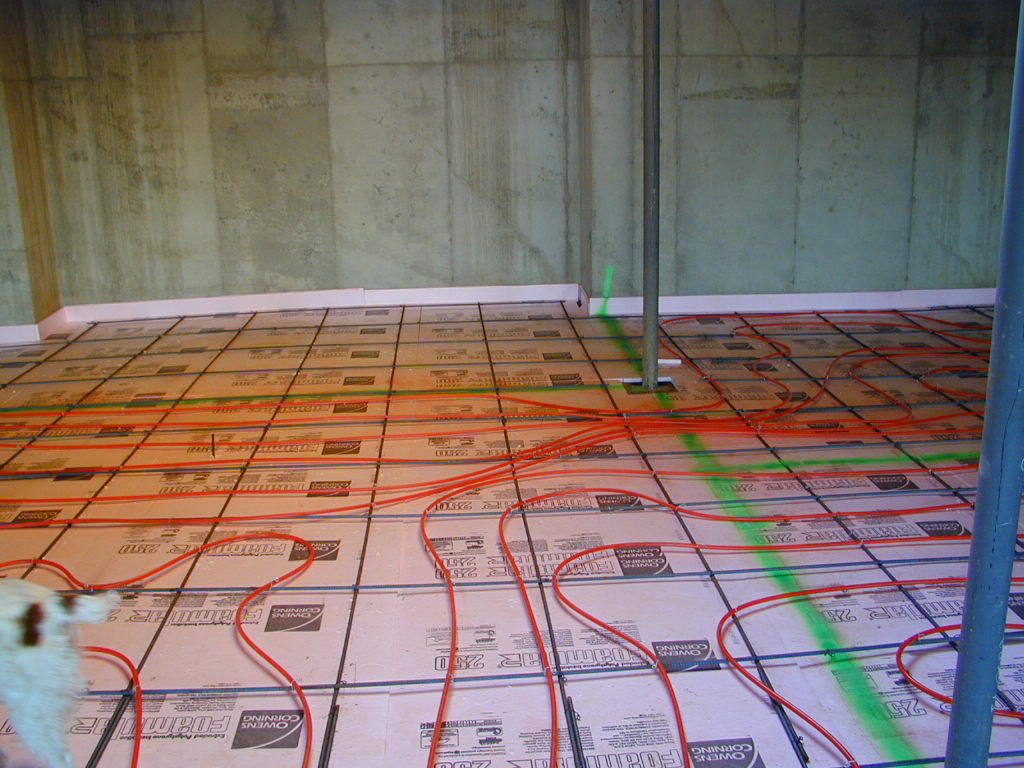
Anyways, pictures of the rebar and insulation board. The green lines are the rooms marked out so they can lay the heating tubes.


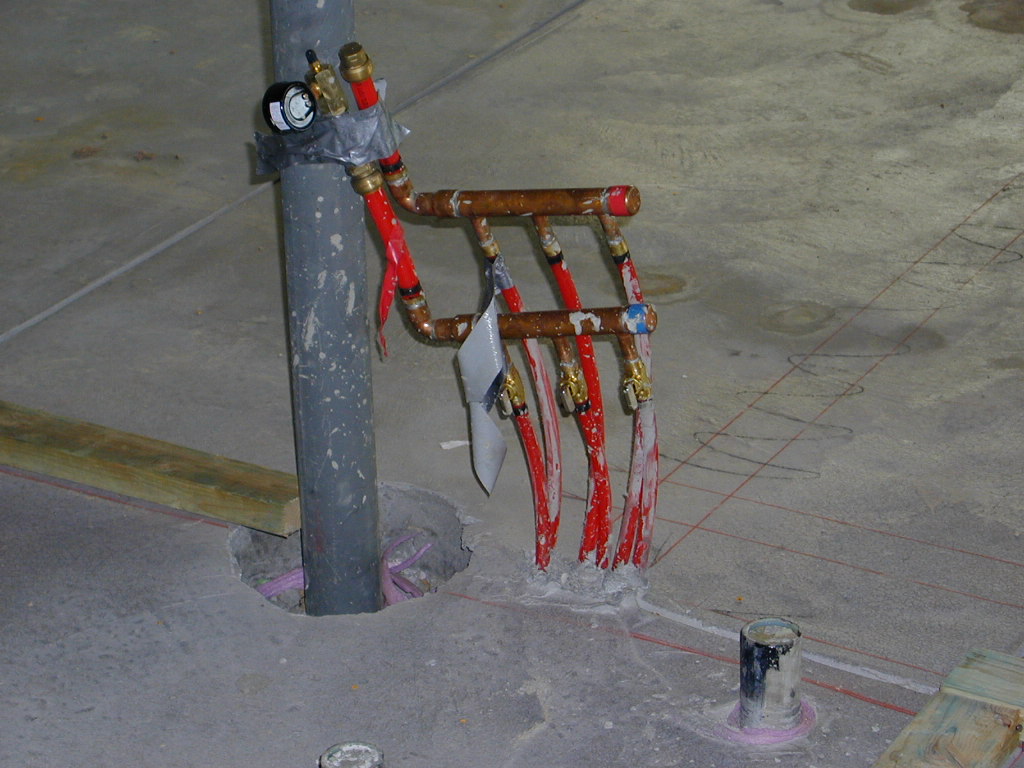
The red tubes are made to hold high pressure. The boiler heats water that is then pumped through the tubes that will then heat the concrete that is poured over. Once heated, this will allow steady heat without the need for air blowers and fans, keeping a steady temperature. The tubes are attached to the rebar to keep them from floating up, and the concrete will be poured over to the height of the insulation board along the sides, about 5 inches.


New Deck, Concrete

New things are happening. The decks are going up. So far, They have the frame up for the deck outside the master bedroom. It looks bigger than we expected, so far. The main deck should be started up tomorrow.


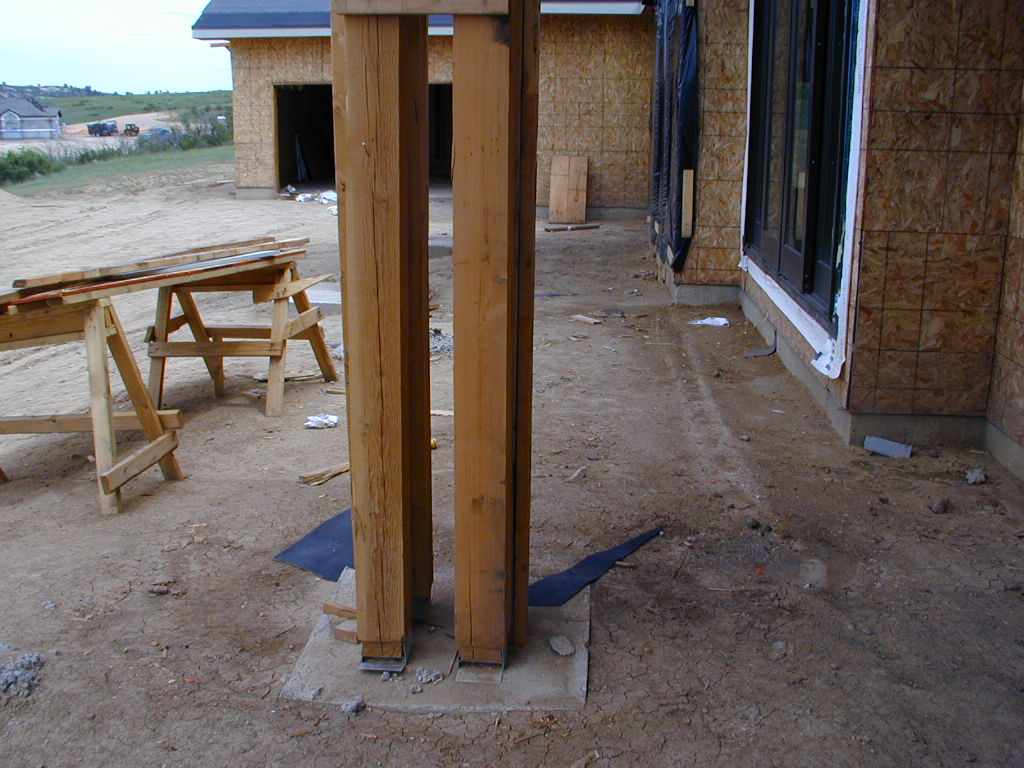
The garages also had their cement poured. The patio outside the nook was poured as well. That will finally allow them to put up the structural posts that hold up the overhang over the nook patio, as they rest on top of the concrete, and finish off that part of the roof.


We're waiting for a custom arched beam for the front portico. That will create a barrrel roof entryway. That should be arriving any day now, and then the front entryway can finally be roughed in.

In the basement, we're getting ready to pour the concrete. The structural fill (gravel stuff) was leveled and recompacted. Insulation board was layed out. Because we are using radiant heat, that keeps the heat fron escaping into the ground. The insulation is placed along the whole bottom as well as the sides.
Rebar is layed out to give better structure, needed because there is some risk of soil expansion which could cause the concrete to heave. The rebar will help hold all the concrete down and keep it from raising unevenly, or hopefully not raising at all.

Sunday, July 02, 2006

Windows going In


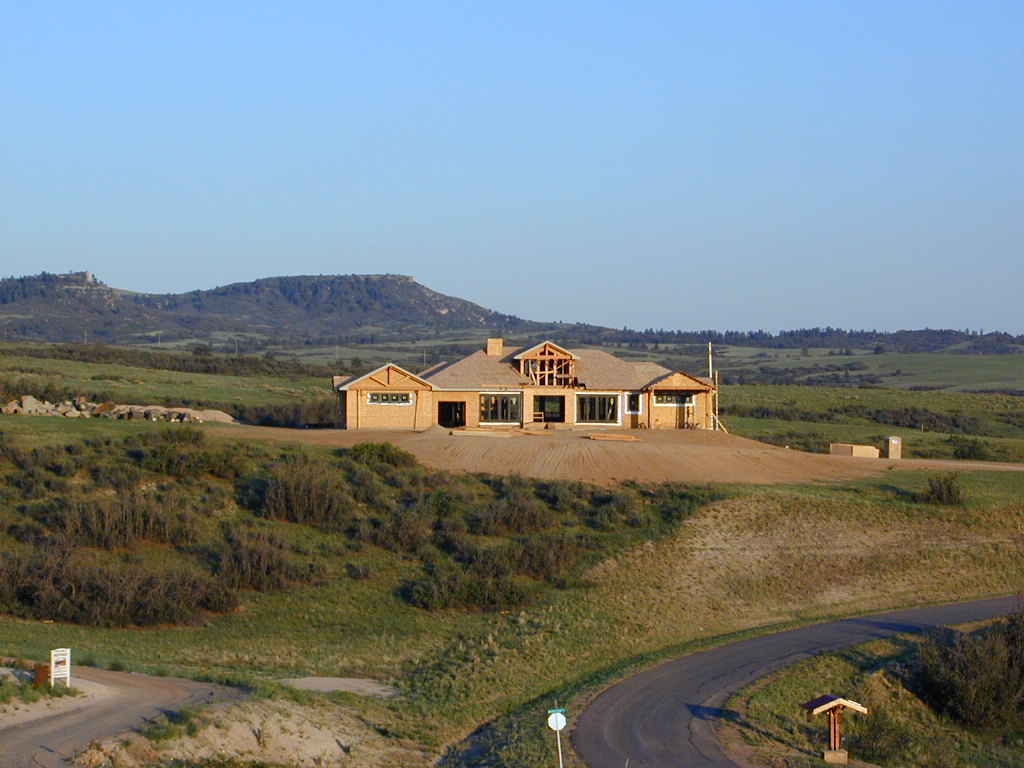
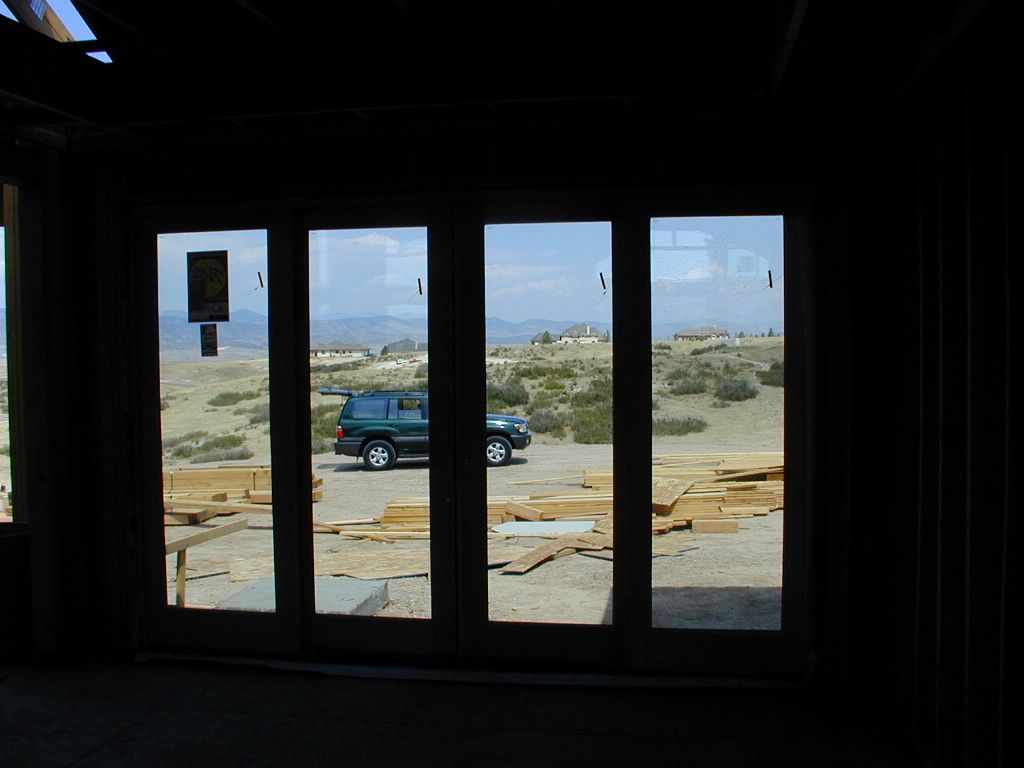
New stuff to report at last. The shipment of windows arrived and they began to put them in. Almost complete. The sliding doors are very nice and sturdy. These really change the feel from inside.
Caissons were also drilled to support the deck in back and front, and they put up the roof/overhang for the front porch. The large decorative trusses are starting to go up in front as well. A mistake was made in the angled truss over the garage, where a bigger beam was supposed to be used o they're going to have to yank them.
Next work up is to finish the windows, start work on the deck, and get the basement ready with the radiant system and pour the slab.

Saturday, May 13, 2006

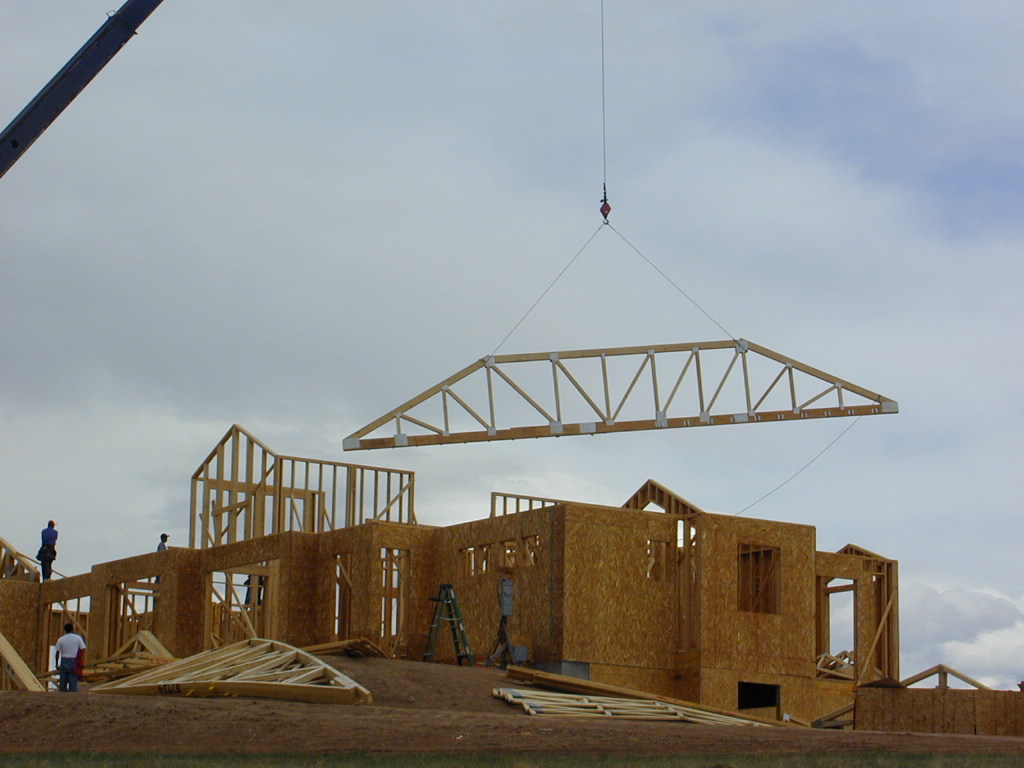
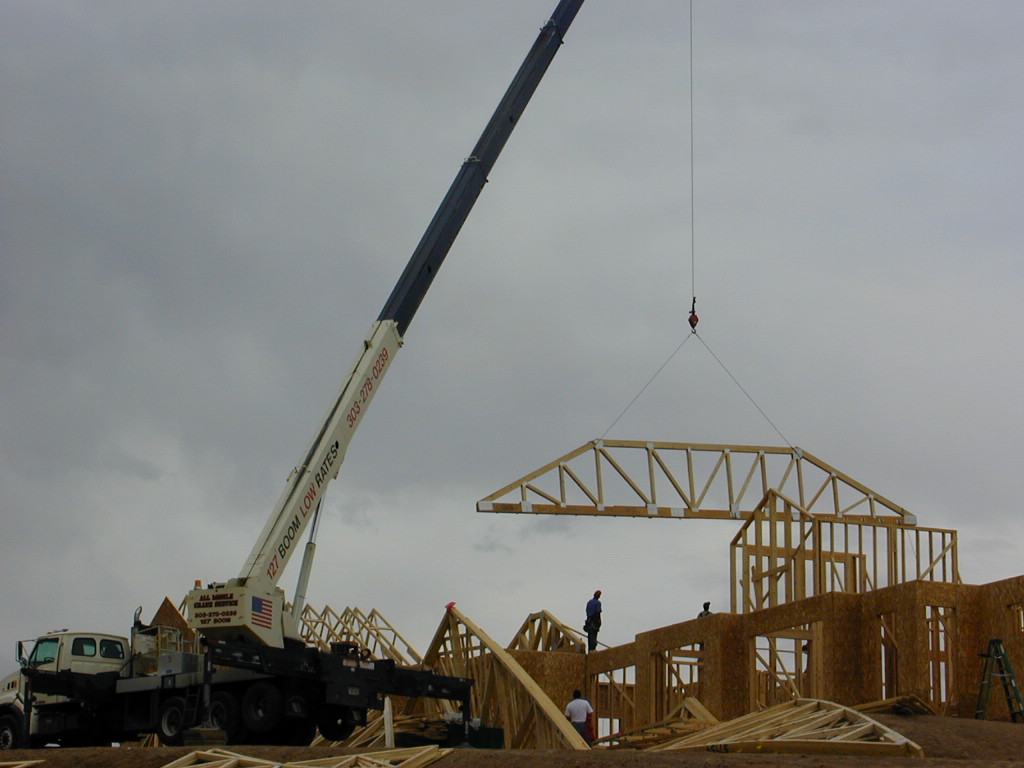
Trusses


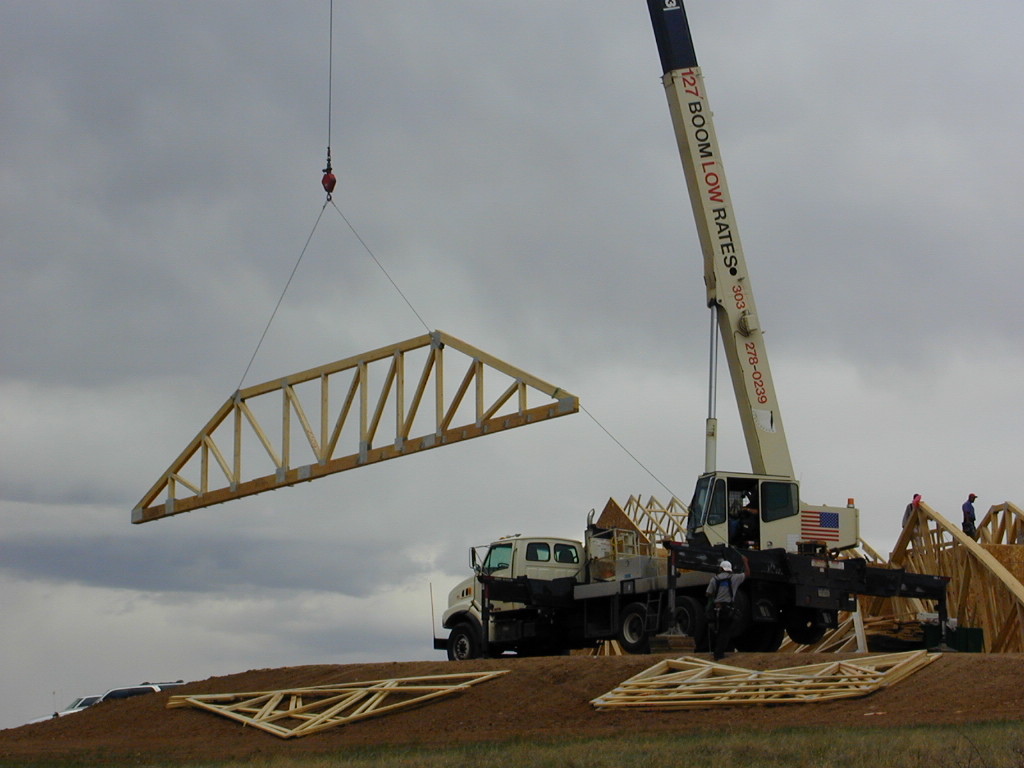
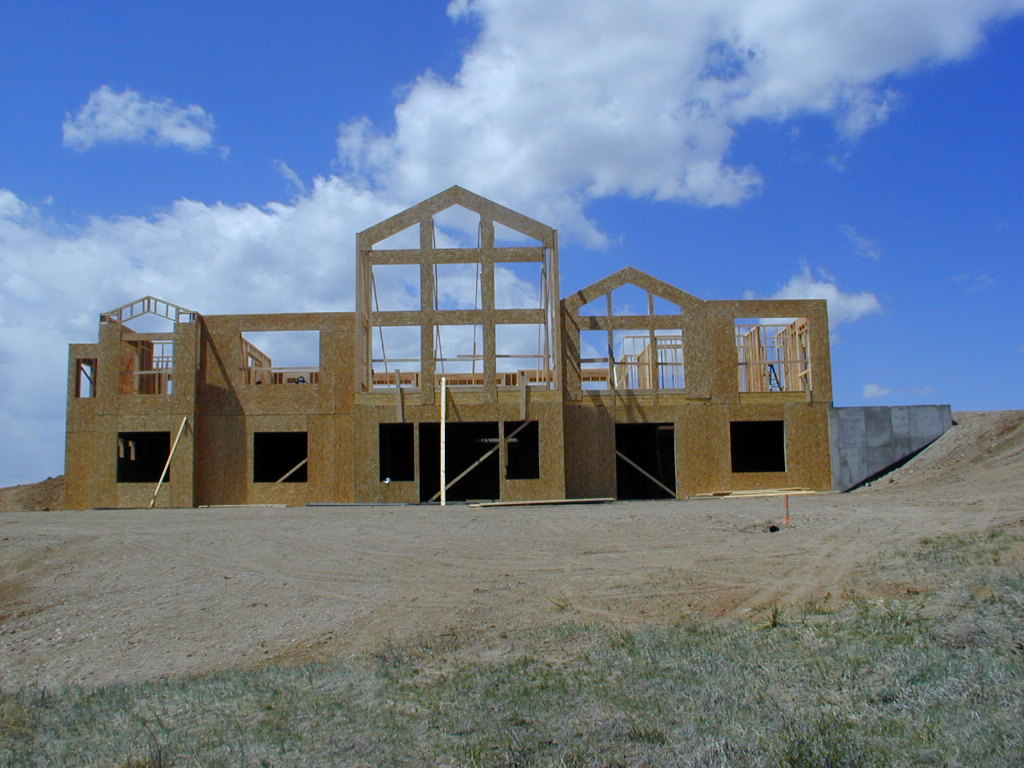
The trusses were delivered late last week. We had to do some engineering checks regarding load bearing areas to make sure the roof would stay up. Lori caught them using the crane to load the trusses up top. They used the crane to get all the pieces up in order, and the workers moved the smaller ones in place. The crane was used to get the more massive pieces lined up. It took about 3 days, and they have begun to put on the roof panels.
More on Flickr

Saturday, May 06, 2006

Framing 3


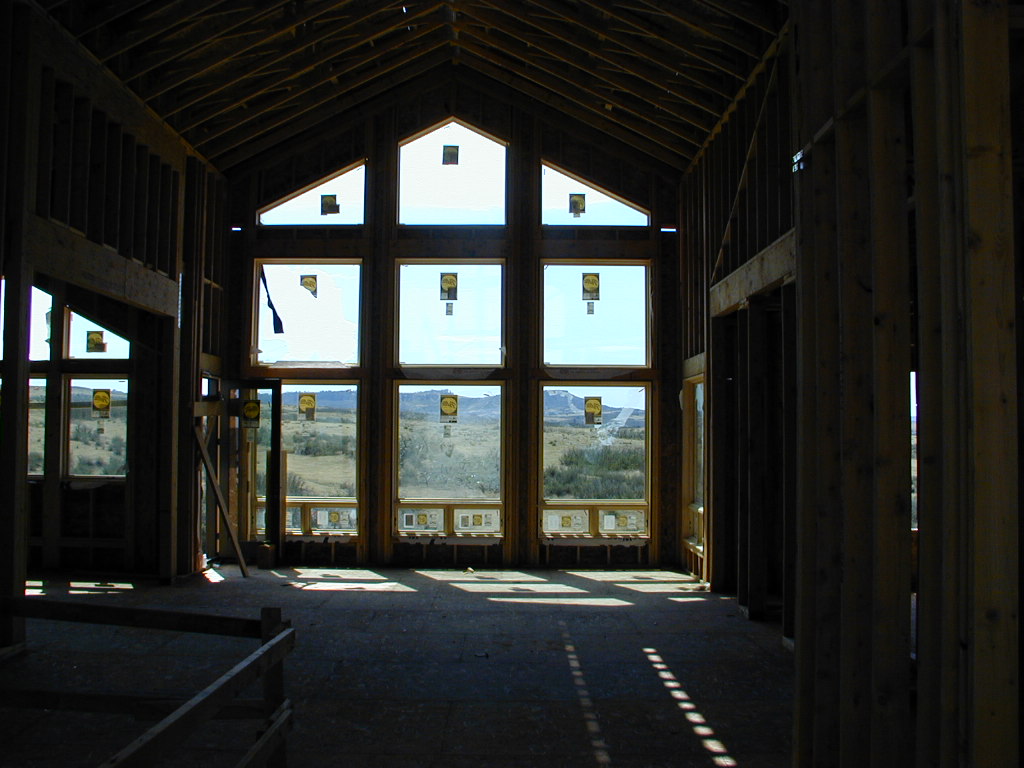
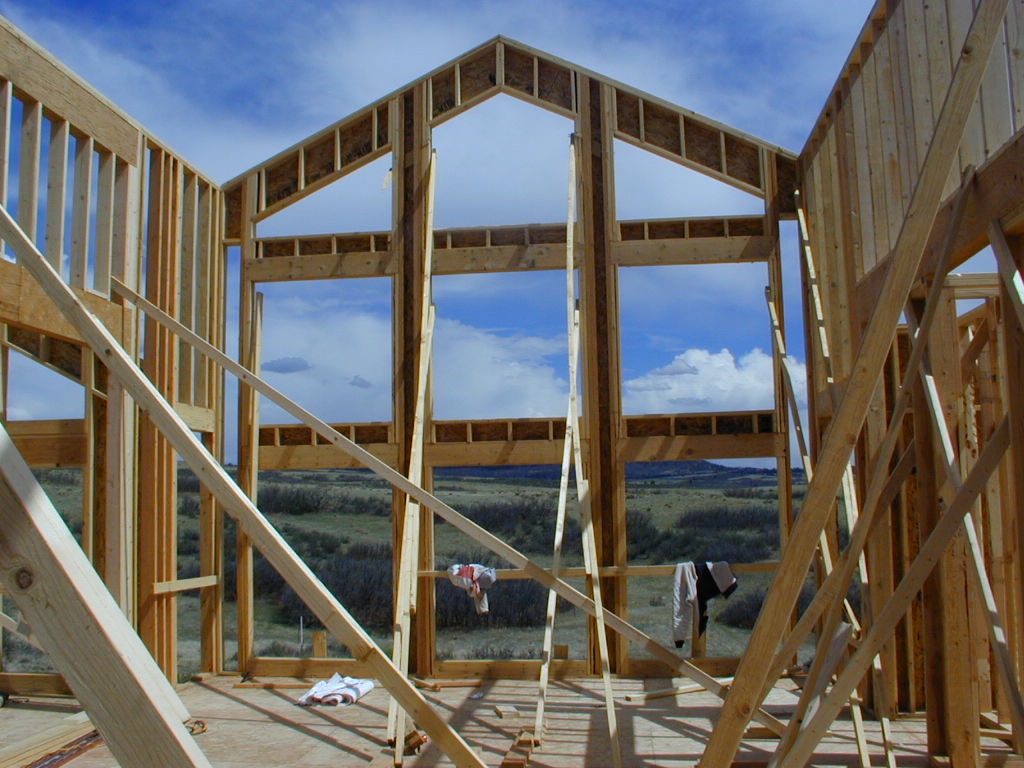
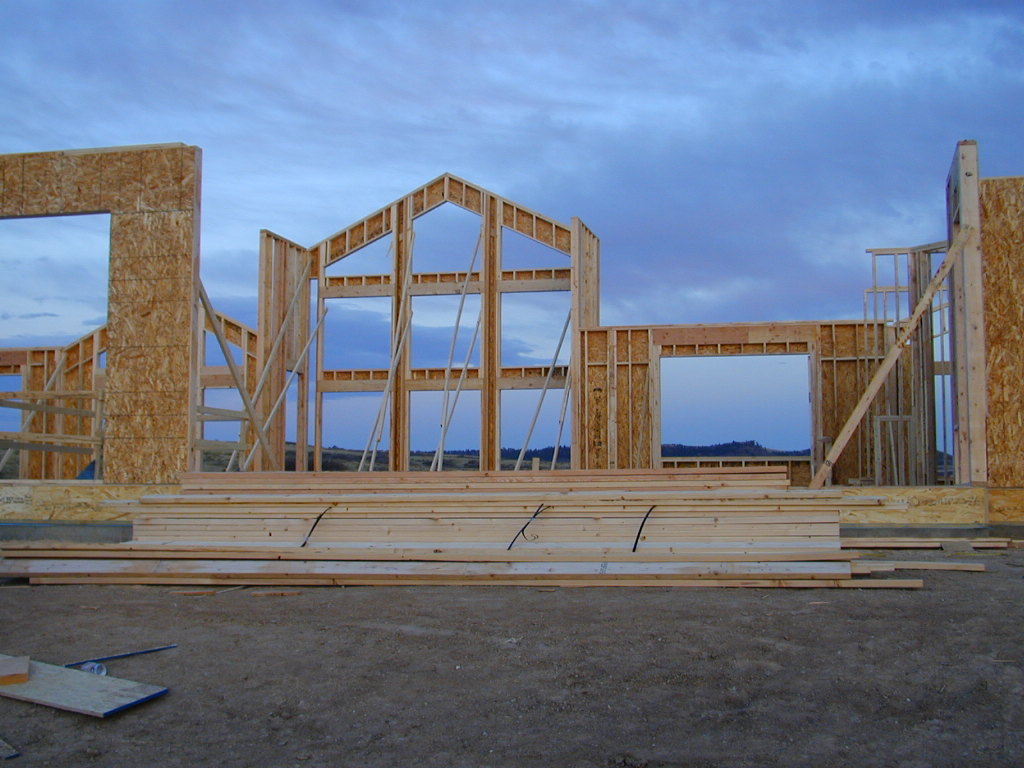
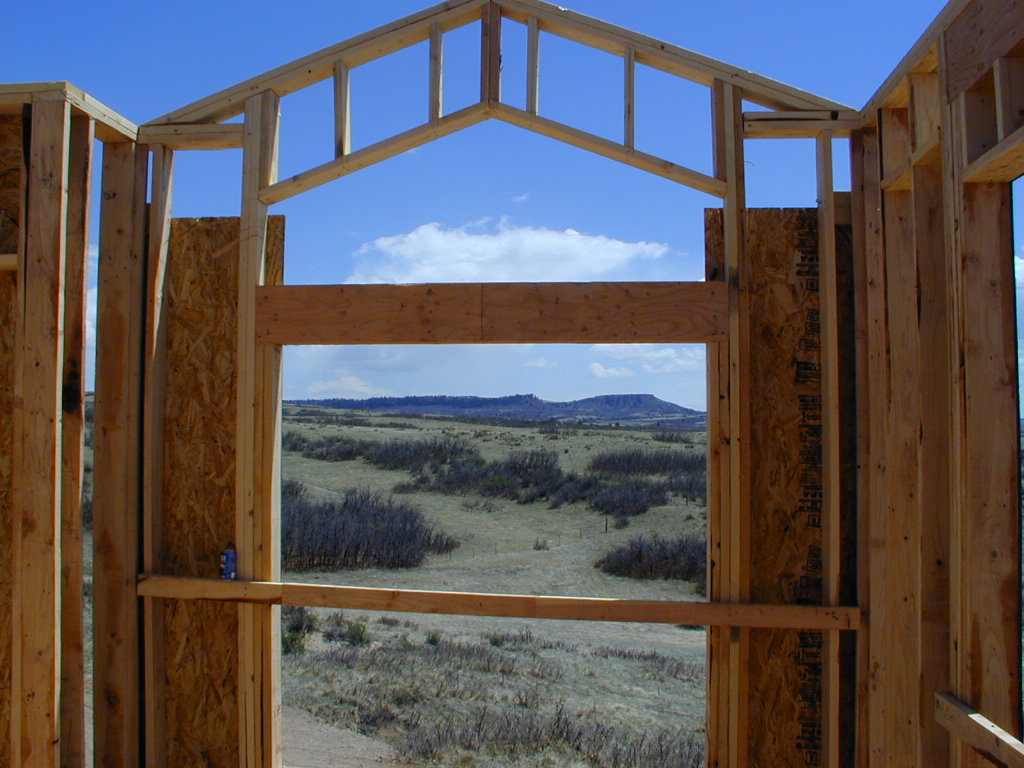
Lori and I met with George, the master framer, today. WE went over all the windows to assure placement and size for the order. Some changes were made, and the framers will move some of the rough outs. Included was the great room, where the lower level of window will be made higher to accommodate the view. The idea is to have a view through the back while walking into the front foyer, to see the bluffs out back. Unfortunately a large header was at exactly the worst height. Two windows next to the walkout door in the lower level will be shifted away from the middle door so as not to be too close, lining up with the outside edges of the windows above, allowing stonework to be placed between.
Most of the inside wall frames are up, and the trusses were delivered. Those go up next week.
The framing crew worked today, but not yesterday. It was rainy in parts, not much around here, but it was also cinco de Mayo. INS just has to hold off for a few more months ;) .
Upcoming decisions are front door size and design, choosing fireplace size and design, and need to decide on bathtubs soon. We'll have to meet with the electrician shortly for electrical placement (all outlets, lights, switches, fans etc.), basically going over the plans and a walkthrough.


Full set on Flickr

Sunday, April 30, 2006

Framing 2


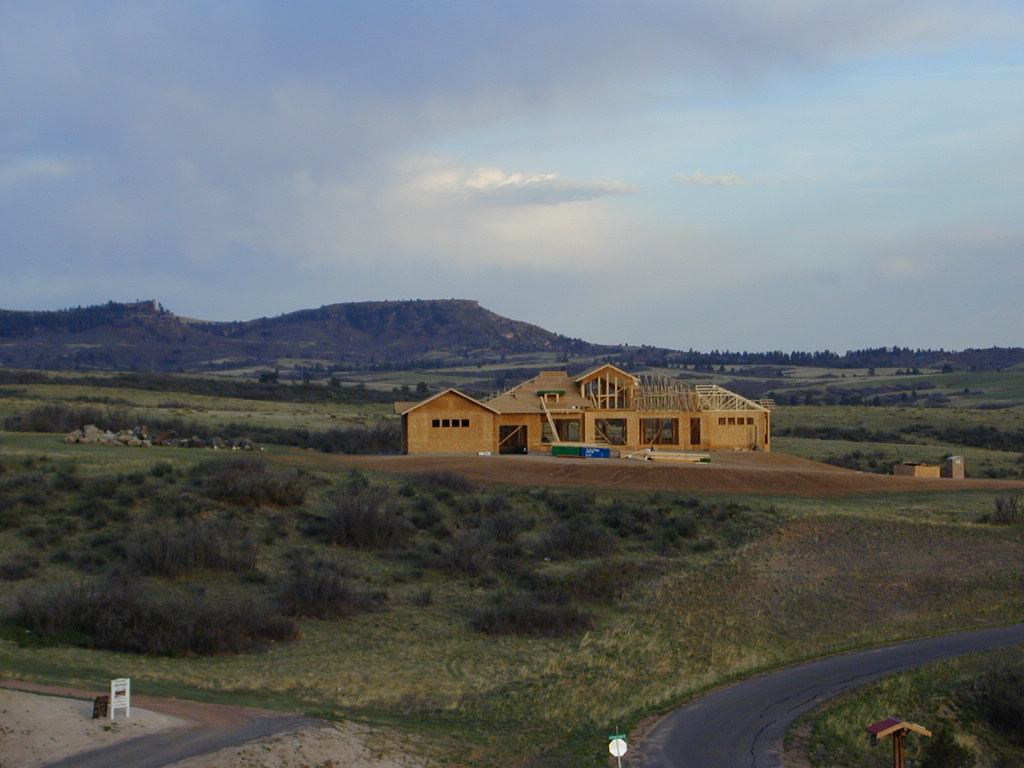
Framing continues. We went out and met up with the master framer, George. Lori and I looked over things, and saw some need for quick changes. The biggest was the great room windows. Unfortunately, a large header blocked off the main view of the bluffs in back as we walked from the foyer area to the great room. That's something we couldn't really anticipate from the plans. Fortunately, some quick measurements and the changes are made easily. Shrink the header size, raise it up a foot, raise the bottom level a bit, perhaps increase the size of the window and it's done. Much easier to do now in the rough stage than later when more solid walls are in. They'll meet up with the window specialist to get final measurements and order windows and doors later this week. Other changes included moving a wall in the master closet and moving a linen closet, and shifting a door to the garage. We also widened a doorway, so most important doorways will be 36 inches wide for handicapped access, if ever needed or for resale.

Saturday, April 22, 2006

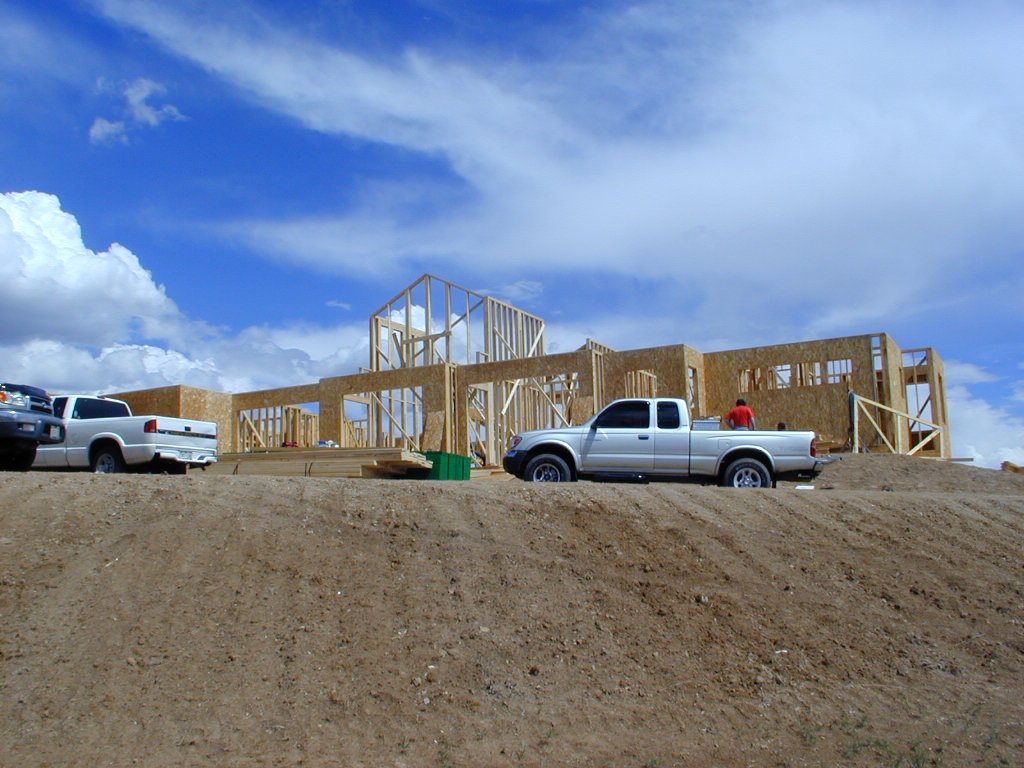
Framing starts

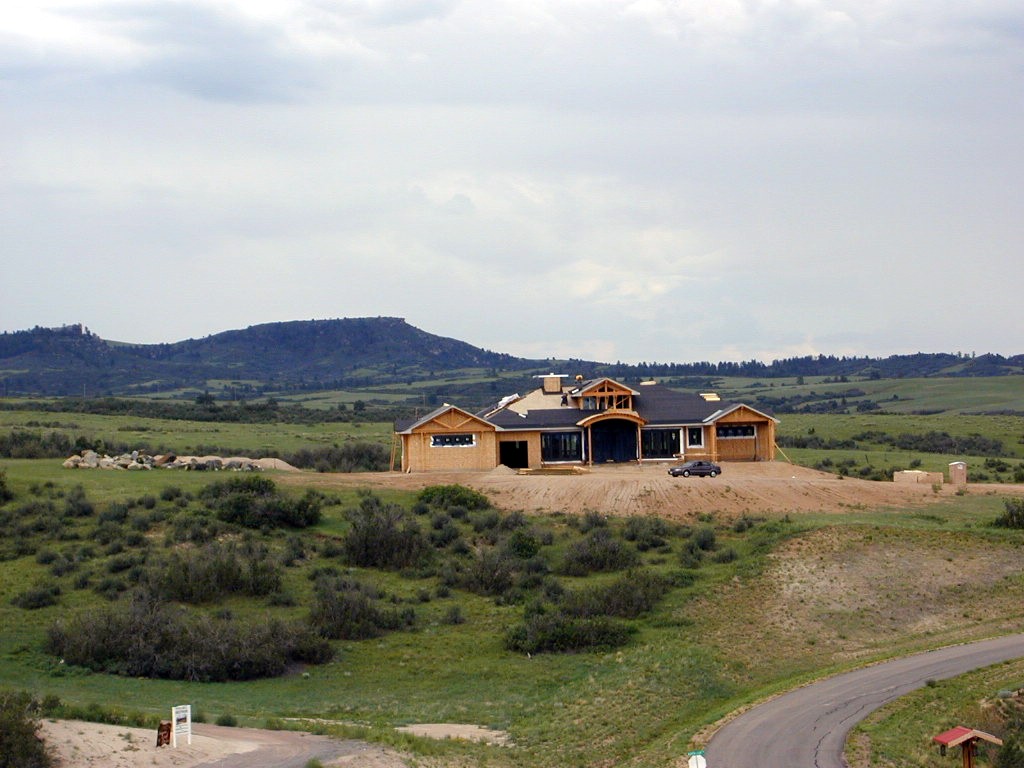
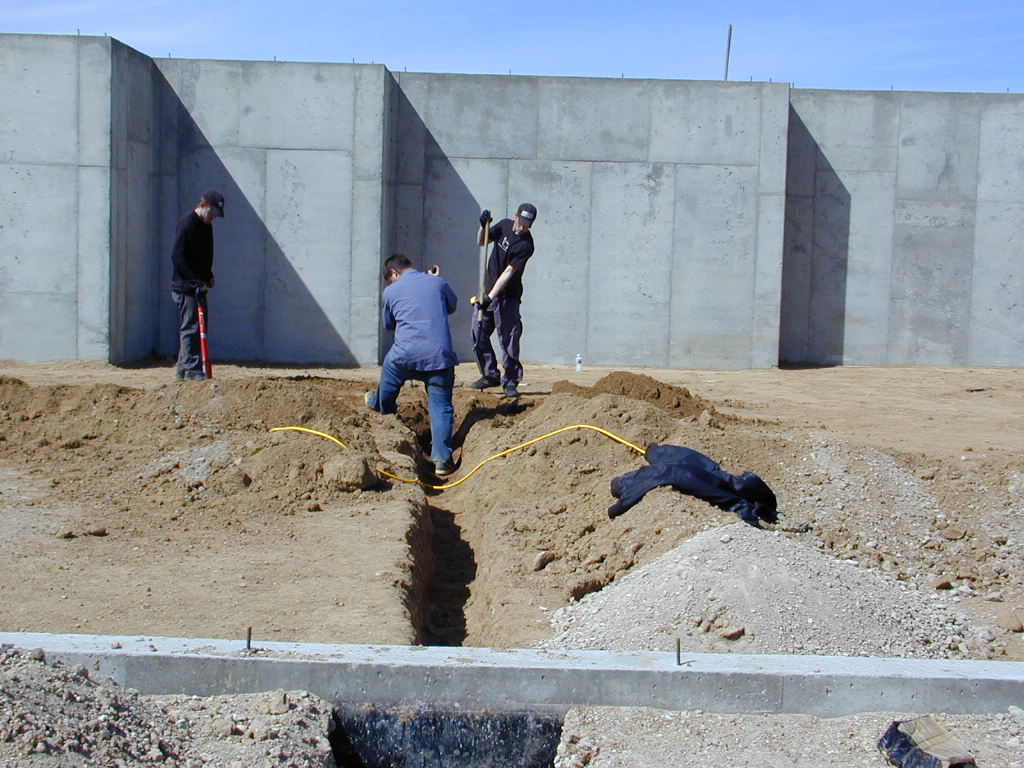
OK, things are moving again. The plumbing rough was put in. Trenches are dug, and the plastic piping is put in. This has to be aligned with the different areas of the house, sinks, kitchen, bathrooms, etc., according to the plans. Took a little longer as some changes were put into the final plans but didn't make it to the plumber’s copy. Lori and I went to the site and mapped out some changes for one of the downstairs rooms that we wanted. If they get it wrong and pour the concrete slab, the only fix is to dig it up, which would be pretty expensive since the slab will contain the radiant heat pipes.
(Pics on flickr)


Next, we met with the heating guys. That was a pretty drawn out affair. We again discussed the option of geothermal heating, using radiant heat pipes in the slab. No matter which configuration, the cost didn't work out as allowing any long term saving and although no combustible products are used, it wouldn't pay off , ever. I liked the idea of not using gas, but the builder assured us that the house would be very energy efficient and allow a lot of passive solar heating. So, we're going with radiant heat with gas. Piping will go throughout the basement slab and we will also put in a concrete slab in the upper level, with the pipes laid through that. The system will adjust itself to outside temperatures, and there will be 6-7 different heating zones allowing a lot of fine-tuning to heat the areas that we will use the most. Ends up being much less expensive than I anticipated, more expensive than gas forced air. The advantage is that it is much cleaner without air blown constantly, more efficient with the zones as well as heat maintained lower down without having to blow air around to the high ceilings, and very quiet. The expense is a disadvantage, with some double costs because ducts still have to be put in for AC, but we will only do the upper main floor level. The lower level being 12 feet down, is expected to maintain its coolness well.
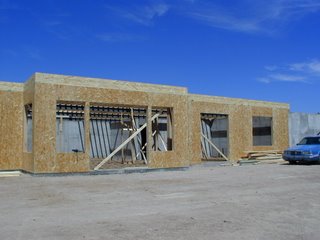
The framing has started for the lower level. The back wall are started with the openings for sliding doors and the windows, with the steel beams set across the
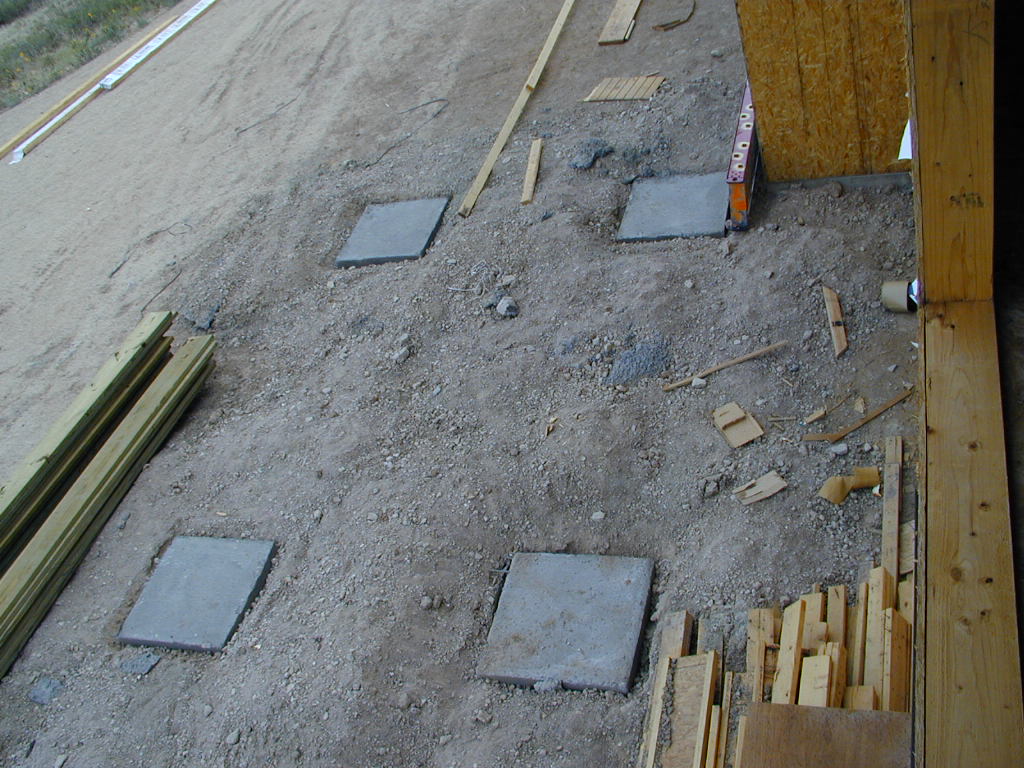
bottom and supporting the start of the floor. The beams currently are supported by wood which will be replace by steel pillars which will be centered over the pylons already set in.



Once the floor is covered, the dirt underneath will be watered to allow some of the clay to expand before laying the slab, to avoid expansion of the underlying clay after the slab is down, which could shift it. An insulating foam floorboard goes down first so that the radiant heat doesn't heat the ground underneath, and it just goes into the slab and the house. There will be a 5-inch concrete slab over that in the lower level, a 2-inch slab for the upper level (I think). For the lower level, the insulating board goes down first, then rebar crossed throughout, with the heating pipes tied to the rebar to keep it positioned when the concrete is poured.

We came across one of our neighbors while we were checking things out.
He said he couldn't wait till we started planting our landscaping.